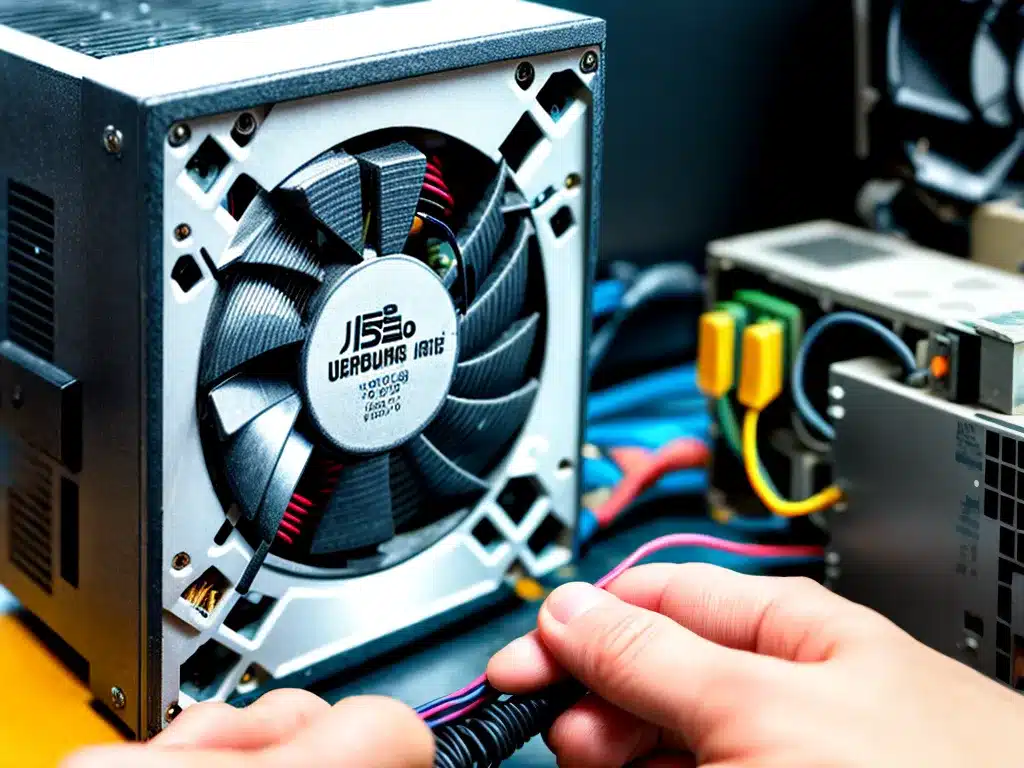
Having a faulty power supply in your computer can cause a variety of issues, from random crashes and reboots to complete failure to power on. Replacing a faulty power supply is one of the more straightforward do-it-yourself computer repairs. With some basic precautions, the right tools, and a compatible replacement power supply, I can replace a faulty unit and get my computer up and running again quickly.
Choosing a Replacement Power Supply
The most important considerations when selecting a replacement power supply are:
-
Power rating – The wattage rating needs to match or exceed the original power supply. Using a lower wattage unit can lead to instability or failure to boot.
-
Power connector – The replacement needs to have the right power connector(s) to match the motherboard. Common types are 24-pin ATX and 4-pin/8-pin CPU.
-
Physical size – The replacement power supply must fit the physical space inside the case. Measure the existing unit and get one with identical dimensions.
-
Efficiency rating – Higher efficiency units (80 Plus Bronze, Silver, Gold) waste less power as heat. This improves reliability and can lower electricity bills.
-
Modular cables – Modular power supplies allow removal of unused cables for better airflow and a tidier build. However, they cost more than non-modular versions.
I always try to get a power supply from a reputable brand such as Corsair, EVGA, or Seasonic. I also make sure to read reviews of the specific model I’m considering before purchasing.
Safety Precautions
Working with computer power supplies poses some safety hazards from electrical shock. Here are some key safety tips:
-
Unplug the power cord from wall outlet before working on the power supply.
-
Press and hold power button for 5 seconds to discharge residual energy after unplugging.
-
Avoid touching capacitors or circuit boards inside the PSU. They can retain dangerous charges.
-
Use an anti-static wrist strap or regularly touch a metal case surface to avoid static discharge.
-
Keep screws and cables organized in containers to avoid leaving loose objects inside the case.
-
Do not leave replacement PSU plugged in outside the case for extended periods. Only turn it on installed inside case.
Following basic electrical safety makes replacing a computer power supply a straightforward job. Rushing or ignoring precautions risks damage to components or personal injury.
Step-by-Step Replacement Guide
With proper care, replacing a faulty power supply unit is a straightforward process. Here is an overview of the step-by-step procedure:
Prepare the Computer
- Shut down the system, unplug power cable, then press and hold power button for 5 seconds.
- Remove case side panel to access internal components.
- Wear anti-static wrist strap and connect to case periodically.
- Have a parts tray ready to organize removed screws and cables.
Remove Old Power Supply
- Disconnect all power cables from motherboard, GPU, storage drives etc. Be organized.
- Unscrew and remove mounting screws on rear of case holding PSU in place.
- Slide PSU out from back of case.
Install New Power Supply
- Slide in replacement PSU, aligning with rear case mount. Do not force.
- Reinstall mounting screws to secure rear of PSU. Do not over tighten.
- Reconnect all power cables to original components. Double check pinouts.
Complete Installation
- Tidy all cables using zip ties and routing space inside case.
- Replace case side panel.
- Plug in power cable and switch on power supply.
- Start computer to verify normal operation.
With attention to details like using anti-static precautions, disconnecting all cables neatly, and securing the replacement unit properly, the power supply swap can be completed smoothly in less than 30 minutes for most systems. Taking shortcuts risks damaging components or faulty operation.
Troubleshooting Issues After Replacement
If the computer fails to start up normally after replacing the power supply unit, some common issues to check include:
-
Loose power cables – Check that all connectors are fully seated. Wiggle cables to verify.
-
Wrong power cables – Using the incorrect cables or pinouts can prevent system start. Double check compatibilty.
-
Faulty replacement PSU – Rare but possible DOA unit. Test with a known good PSU if possible.
-
Insufficient wattage – Make sure the replacement PSU meets or exceeds the original rating.
-
Short circuit – Loose screws, power pins or dust can cause shorts. Inspect carefully.
-
Damaged components – If PSU failure was from spikes or surges, connected parts may also be faulty. Test individually if needed.
-
BIOS settings reset – After replacement, enter BIOS and reload optimized defaults or redo custom settings.
Paying close attention to all connections and thoroughly inspecting for issues can help identify and resolve any lingering problems after the power supply swap. Overall, replacing a basic power supply is one of the most straightforward DIY repairs for a desktop PC. With proper precautions and care, I can restore normal operation quickly.


