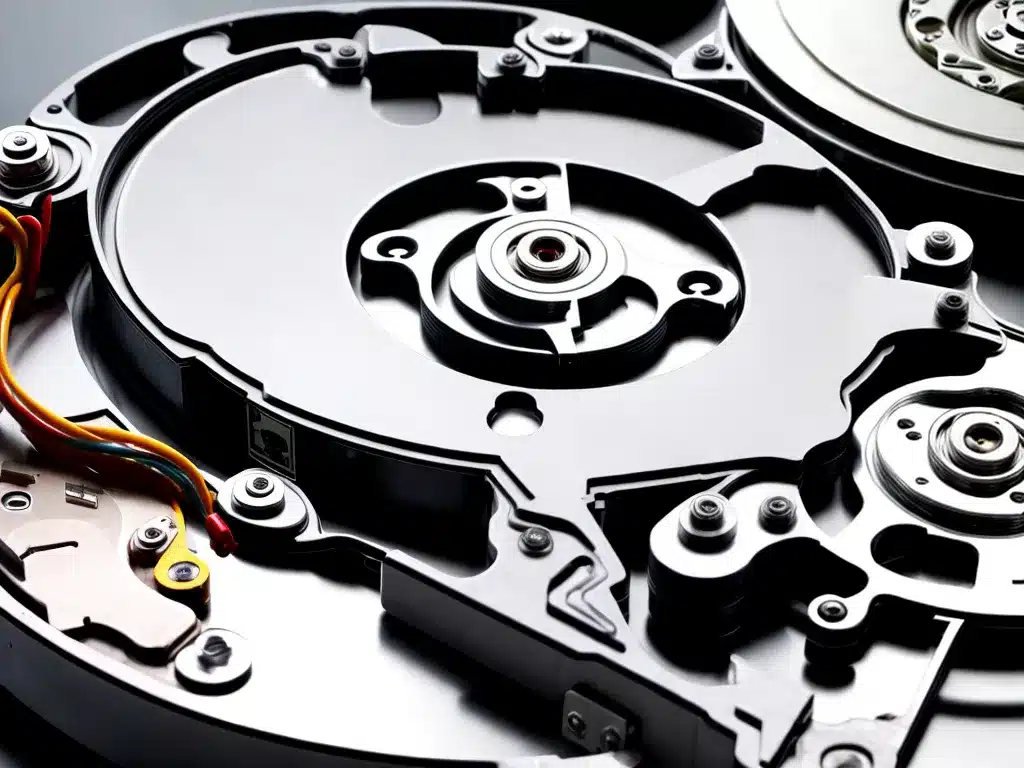

Recovering data from a physically damaged hard drive can seem daunting, but with the right tools and techniques, the process is very doable. As someone who has successfully recovered data from damaged drives many times, I’ll share my knowledge on the ins and outs of this process.
Assessing the Damage
The first step is to assess the extent of the damage. There are a few main types of physical hard drive damage:
-
External damage – This refers to damage to the external casing and components. Common causes are drops, impacts, liquid spills, or exposure to extreme heat. The drive may have dents, scratches, melted plastic, or broken SATA/USB connectors.
-
Internal damage – This is damage to the internal platter(s) and read/write heads. It’s often caused by severe drops or blows while powered on. Symptoms include clicking noises, grinding, or a total failure to spin up.
-
Firmware corruption – The drive’s controller board can become corrupted or damaged, rendering part of the drive inaccessible. This can happen from power surges, controller failure, or exposure to moisture.
I always start by connecting the drive to a computer and running hard drive testing software. This gives me a full report on the drive’s functionality and whether any data can still be read. From there, I can determine the likelihood of a successful recovery.
Choosing the Right Tools
Data recovery software – This specialized software is engineered to bypass hardware damage and extract data from the drive’s platters. Popular solutions include R-Studio, EaseUS Data Recovery Wizard, and Stellar Data Recovery. I always have 2-3 of these installed for the best chance of recovery.
Hardware tools – For physically damaged drives, having the right hardware tools can mean the difference between success and failure. Here are some I always have on hand:
- SATA/USB adapters and cables – To connect drives with damaged ports
- Drive cloners – To create sector-by-sector backups of failing drives
- Clean room tools – For safely opening drives and replacing damaged internal components
Linux environments – Linux-based operating systems like Ubuntu have powerful data recovery capabilities built-in. I keep a Linux USB drive handy for accessing drives that don’t load in Windows.
Cloning vs Direct Access
When recovering from a physically damaged drive, I generally avoid accessing the drive directly unless I have no other option. There’s a risk that powering on the drive normally could worsen existing damage.
Instead, I first use a drive cloner to create a full forensic image of the drive. With the cloned backup made, I then work off that, keeping the original damaged drive untouched. Popular hardware cloners include Tableau Forensic SATA/IDE Bridge clones and Logicube Falcon drive duplicators.
There are also software options like Clonezilla for creating drive images virtually. The key is minimizing direct access to the delicate original.
Attempting Data Recovery
With the damaged drive cloned, I connect the backup and run data recovery software scans. The results can vary significantly depending on the drive model, type of damage, and data recovery software used.
Here are some best practices I follow during the recovery process:
- Try multiple recovery software options, as they use different approaches
- Begin with non-invasive read-only scans before attempting repairs
- Target specific high-value folders and file types first if known
- Expect degraded files and opt for recovering as much as possible vs perfect integrity
- Back up recovered data to multiple drives to avoid data loss
If multiple recovery attempts don’t yield results, I resort to clean room disassembly and platter transplants to fix drives with physical internal damage. If the controller is unresponsive or corrupted, specialized firmware repair or chip-off services may be required.
Avoiding Re-Use of Damaged Drives
Once I successfully recover the data from a physically damaged hard drive, I never reuse the drive for live data again. The physical trauma often causes reallocated sectors and performance issues down the road. I’ll repurpose recovered drives for temporary storage at best.
For future protection, I always remind myself and clients to have good backups in place. Relying solely on damaged drive recovery is risky. Following the 3-2-1 backup rule with local and cloud copies ensures minimal data loss when dealing with drive failures.
In summary, recovering data from physically damaged hard drives is very possible with the right tools, techniques, and patience. Assessing the damage, cloning versus direct access, using multiple recovery methods, and proper backup diligence are all critical in getting a positive outcome. With the steps in this guide, you’ll be prepared to tackle this technical challenge. Let me know if you have any other questions!


