DIY Guide to Replacing a Smartphone Power Button
If you own a smartphone, you know how frustrating it can be when the power button stops working. Your phone could be fully functional, but without the power button, it’s essentially useless. You might be tempted to take it to a repair shop, but that can be costly, and it’s not always necessary. In this guide, we’ll show you how to replace a smartphone power button yourself. It’s easier than you might think, and with a little patience and some basic tools, you can have your phone up and running again in no time.

Step 1: Gather the necessary tools
Before you begin, you’ll need a few tools to get the job done. Here’s what you’ll need:
- Tweezers
- Small Phillips head screwdriver
- Plastic spudger
- New power button (make sure it’s compatible with your phone)
Step 2: Remove the back cover
First, you’ll need to remove the back cover of your phone. Depending on the make and model of your phone, this step may vary slightly. Generally, you’ll need to locate the small notch or groove on the side of the phone and use your fingernail or a plastic spudger to pry the back cover off.
Step 3: Locate the power button
Once you’ve removed the back cover, you’ll need to locate the power button. It’s usually located near the top of the phone, on the same side as the volume buttons. You should be able to see it easily once the back cover is removed.
Step 4: Remove the old power button
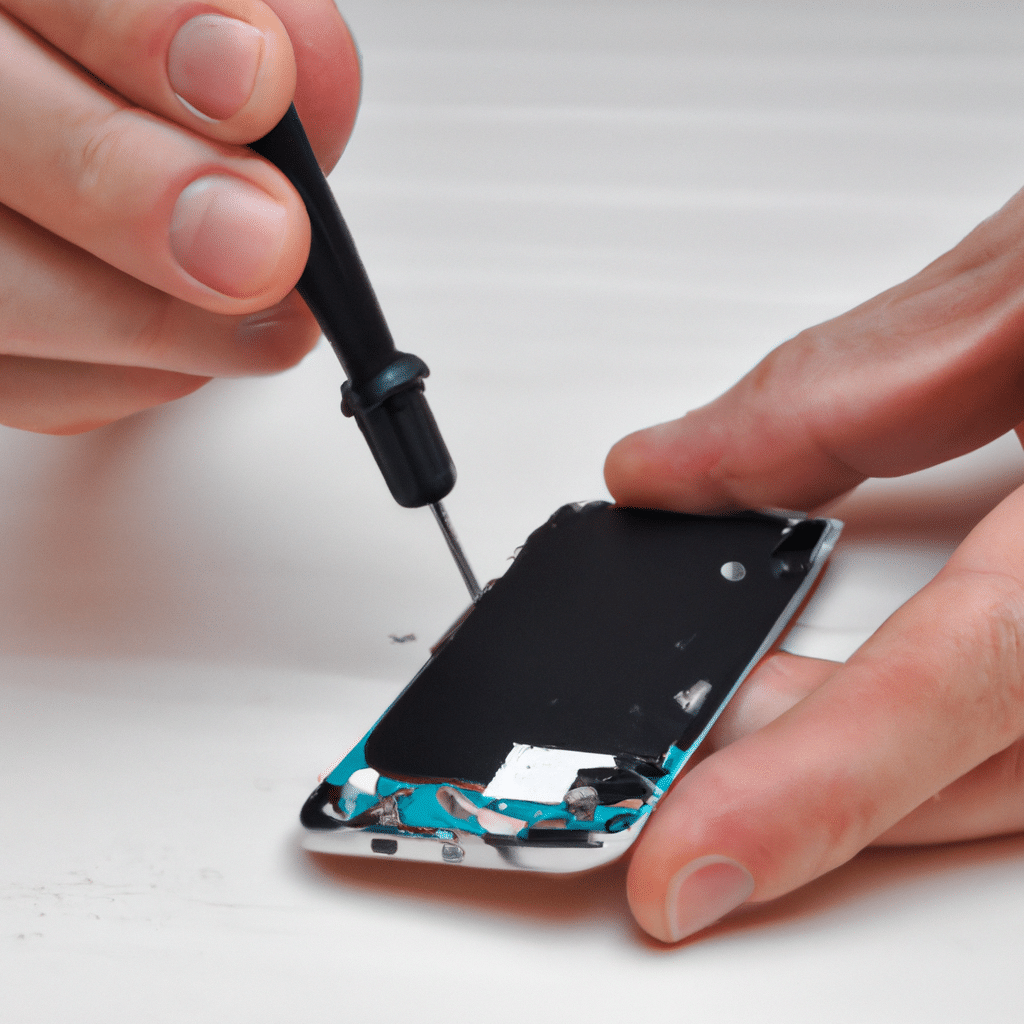
Using your small Phillips head screwdriver, carefully remove any screws that are holding the power button in place. Once the screws are removed, you should be able to gently lift the power button out of its slot. Be careful not to damage any of the other components while you’re doing this.
Step 5: Install the new power button
Take your new power button and carefully insert it into the slot where the old one was. Make sure it’s aligned properly and fits snugly. Reattach any screws that were holding the old power button in place.
Step 6: Test the new power button
Before you reattach the back cover, it’s a good idea to test the new power button. Press it a few times to make sure it’s working properly. If it’s not working as it should, double-check your work and make sure everything is installed correctly.
Step 7: Reattach the back cover
Once you’re confident that the new power button is working properly, it’s time to reattach the back cover. Simply align it with the phone and snap it into place. You should hear a satisfying click when it’s properly attached.
Conclusion
Replacing a smartphone power button might seem daunting, but it’s actually a simple process that most people can do themselves. With the right tools and a little patience, you can save yourself time and money by doing it yourself. Just remember to take your time and be careful not to damage any other components while you’re working. With a new power button installed, your phone should be working like new again in no time.


