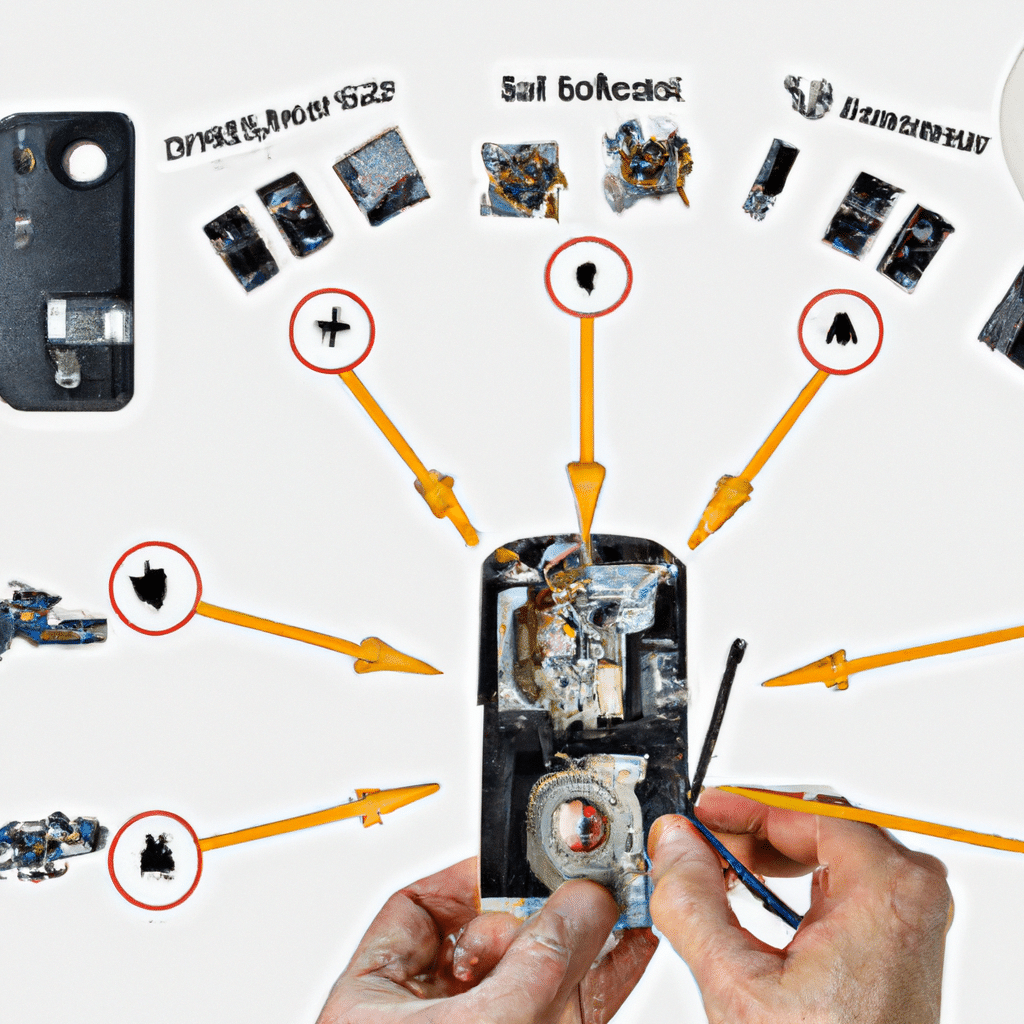
DIY Guide to Replacing a Smartphone Camera Lens
Are you struggling with a scratched or broken camera lens on your smartphone? Don’t worry, you can replace it yourself! Replacing a smartphone camera lens can be a daunting task, but with the right tools and a little patience, you can do it yourself. In this guide, we will walk you through the process of replacing your smartphone camera lens step by step.

Tools Required
Before we start, make sure you have the following tools:
- Replacement camera lens
- Small screwdriver set
- Tweezers
- Adhesive tape
- Cleaning cloth
Step 1: Remove the Old Lens
The first step in replacing your smartphone camera lens is to remove the old one. To do this, you will need to remove the back cover of your phone and locate the camera module. Once you have located the camera module, you will need to remove any screws or clips that are holding the lens in place.
Use a small screwdriver set to carefully remove any screws, and use tweezers to remove any clips. Be sure to keep the screws and clips in a safe place so that you don’t lose them.
Once you have removed the screws and clips, you should be able to gently remove the old lens from the camera module. Be careful not to damage any of the other components while you are doing this.
Step 2: Clean the Camera Module
Before you install the new lens, you will need to clean the camera module to ensure that there is no dust or debris that could interfere with the new lens. Use a cleaning cloth to gently wipe down the camera module and remove any dirt or dust.
Step 3: Install the New Lens
Now that the camera module is clean, it’s time to install the new lens. Carefully align the new lens with the camera module and gently press it into place. Be sure to apply even pressure so that the lens is properly seated.
If your replacement lens does not come with adhesive tape, you may need to use a small amount of adhesive to hold the lens in place. Be sure to use a small amount of adhesive and apply it only to the edges of the lens.
Step 4: Reassemble Your Phone
Once you have installed the new lens, it’s time to reassemble your phone. Carefully replace any screws or clips that you removed in step 1, and make sure that the lens is properly seated.
Once you have reassembled your phone, turn it on and test the camera to make sure that the new lens is working properly. If everything looks good, you’re all done!
Conclusion
Replacing a smartphone camera lens may seem intimidating at first, but with the right tools and a little patience, it’s a task that you can do yourself. By following the steps outlined in this guide, you can replace your smartphone camera lens and get back to taking great photos in no time. Remember to take your time, be patient, and always be careful when working with the delicate components of your smartphone. Good luck!


