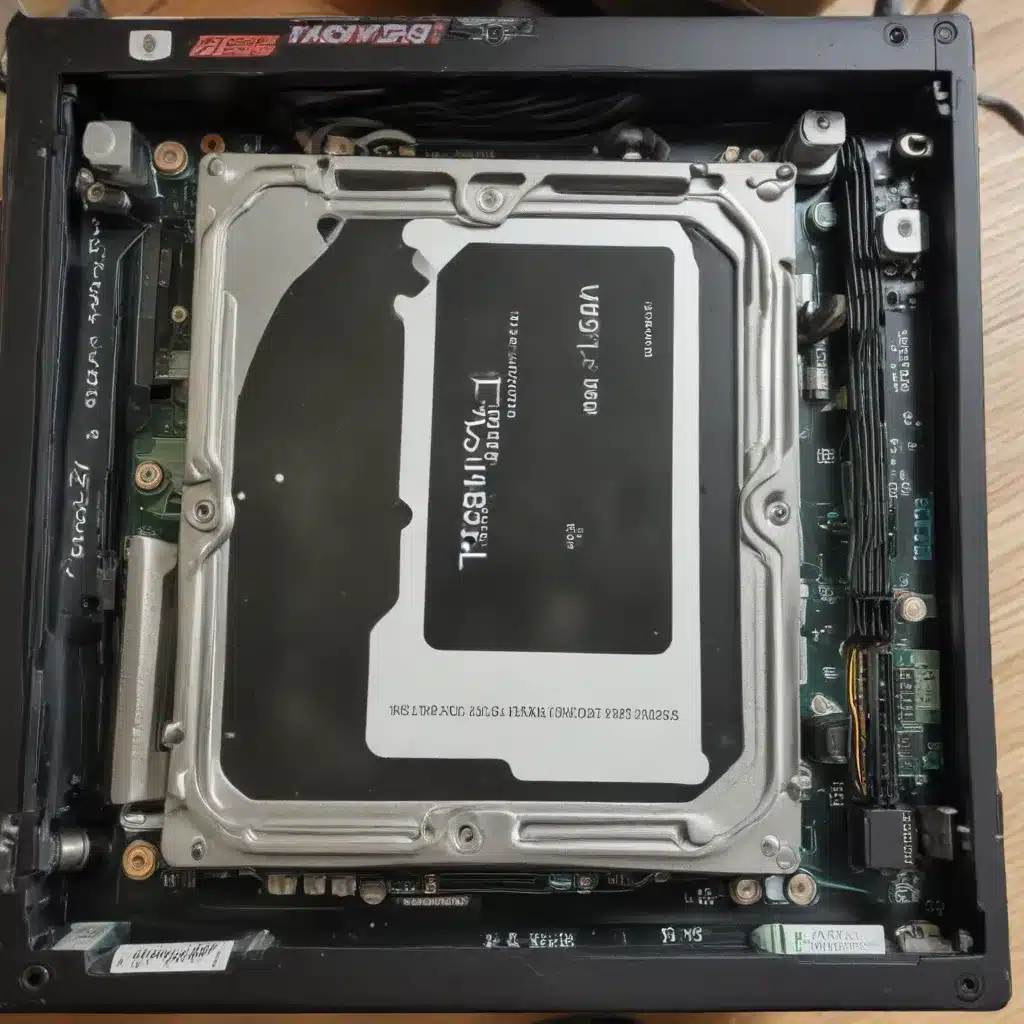
Desktop PC Hardware
The core components that make up a desktop computer are the motherboard, central processing unit (CPU), random access memory (RAM), and storage devices. These essential hardware elements work in harmony to deliver the computing power and data storage capabilities needed for a wide range of tasks, from basic productivity to advanced multimedia creation.
Computer Components
Motherboard: The motherboard serves as the central nervous system of a desktop PC, connecting all the other components and allowing them to communicate with one another. It provides the necessary interfaces, ports, and slots for installing the CPU, RAM, storage drives, and other peripheral devices.
Central Processing Unit (CPU): The CPU, often referred to as the “brain” of the computer, is responsible for executing instructions and performing calculations. The speed and processing power of the CPU directly impact the overall performance of the system.
Random Access Memory (RAM): RAM provides the short-term memory that the CPU requires to run programs and access data quickly. The amount of RAM installed in a desktop PC can significantly affect its responsiveness and ability to handle multiple applications simultaneously.
Storage Devices: Desktop computers typically use a combination of storage technologies to meet their data storage and retrieval needs. The two primary types of storage devices are hard disk drives (HDDs) and solid-state drives (SSDs).
Storage Technologies
Hard Disk Drive (HDD): HDDs are traditional magnetic storage devices that use spinning platters to read and write data. They offer large storage capacities at relatively low costs, making them a common choice for general data storage and backup purposes.
Solid-State Drive (SSD): SSDs, on the other hand, use flash memory-based technology to store data. Unlike HDDs, SSDs have no moving parts, resulting in faster data access times, lower power consumption, and increased durability. These advantages make SSDs an increasingly popular choice for primary system storage.
Solid-State Drive (SSD) Upgrades
Benefits of SSD Upgrades
Improved Performance: SSDs offer significantly faster data read and write speeds compared to traditional HDDs, leading to a noticeable improvement in overall system responsiveness. This can be especially evident in tasks such as booting the operating system, launching applications, and loading large files.
Faster Boot Times: The rapid data access capabilities of SSDs can dramatically reduce boot times, allowing your desktop PC to power on and be ready for use much quicker than with an HDD.
Reduced Power Consumption: SSDs consume less power than HDDs, which can result in extended battery life for laptops and reduced energy bills for desktop PCs.
SSD Compatibility
When considering an SSD upgrade for your desktop PC, it’s important to ensure compatibility with the available storage interfaces and physical dimensions. The most common storage interfaces for desktop computers are SATA, M.2, and NVMe.
SATA (Serial ATA): SATA is a widely adopted interface for both HDDs and SSDs in desktop PCs. SATA SSDs are readily available and can be easily installed in most desktop systems.
M.2: M.2 is a compact, high-speed interface that allows for the direct integration of SSDs directly onto the motherboard. M.2 SSDs are often faster than SATA SSDs and take up less physical space.
NVMe (Non-Volatile Memory Express): NVMe is a newer, high-performance interface that utilizes the PCIe bus to provide even faster data transfer speeds than SATA or M.2 SSDs. NVMe SSDs are typically the fastest option for desktop PC upgrades, but may require a compatible M.2 slot on the motherboard.
Outdated Desktop PC Revitalization
Hardware Limitations
As desktop computers age, their hardware components can become outdated and struggle to keep up with the demands of modern software and applications. Factors such as aging processors, insufficient RAM, and slow storage devices can contribute to a noticeable decline in system performance.
Upgrade Considerations
When revitalizing an outdated desktop PC, it’s essential to consider the system’s current hardware specifications and ensure that any upgrades are compatible with the existing components. Additionally, budgetary constraints may dictate the scope of the upgrade, so it’s important to find the right balance between performance improvements and cost.
SSD Installation and Configuration
SSD Installation Process
The physical installation of an SSD in a desktop PC is generally a straightforward process. Depending on the storage interface, you’ll need to either connect the SSD to a SATA port on the motherboard or install it directly into an M.2 or PCIe slot. Once the SSD is securely in place, you’ll need to connect the power and data cables to the appropriate ports on the motherboard and storage device.
SSD Configuration
After the SSD is installed, you’ll need to configure it for use with your operating system. This typically involves partitioning the SSD and setting up the necessary boot and data partitions. If you’re upgrading from an HDD, you may also need to transfer your operating system and essential data to the new SSD.
Depending on the specific scenario, you can either perform a clean installation of the operating system on the SSD or use a disk cloning or imaging tool to create an exact replica of your existing system on the new storage device. Tools like Macrium Reflect, Norton Ghost, or Windows 10’s built-in backup and restore functionality can simplify this process and help ensure a seamless transition to the SSD.
Reviving an outdated desktop PC with an SSD upgrade can breathe new life into your aging hardware, providing a significant boost in performance and responsiveness. By understanding the benefits of SSD technology, ensuring compatibility with your system, and properly installing and configuring the new drive, you can breathe new life into your desktop PC and enjoy a more efficient and enjoyable computing experience. If you’re considering an SSD upgrade for your older desktop, be sure to research your options and follow the recommended steps to ensure a successful upgrade process.


