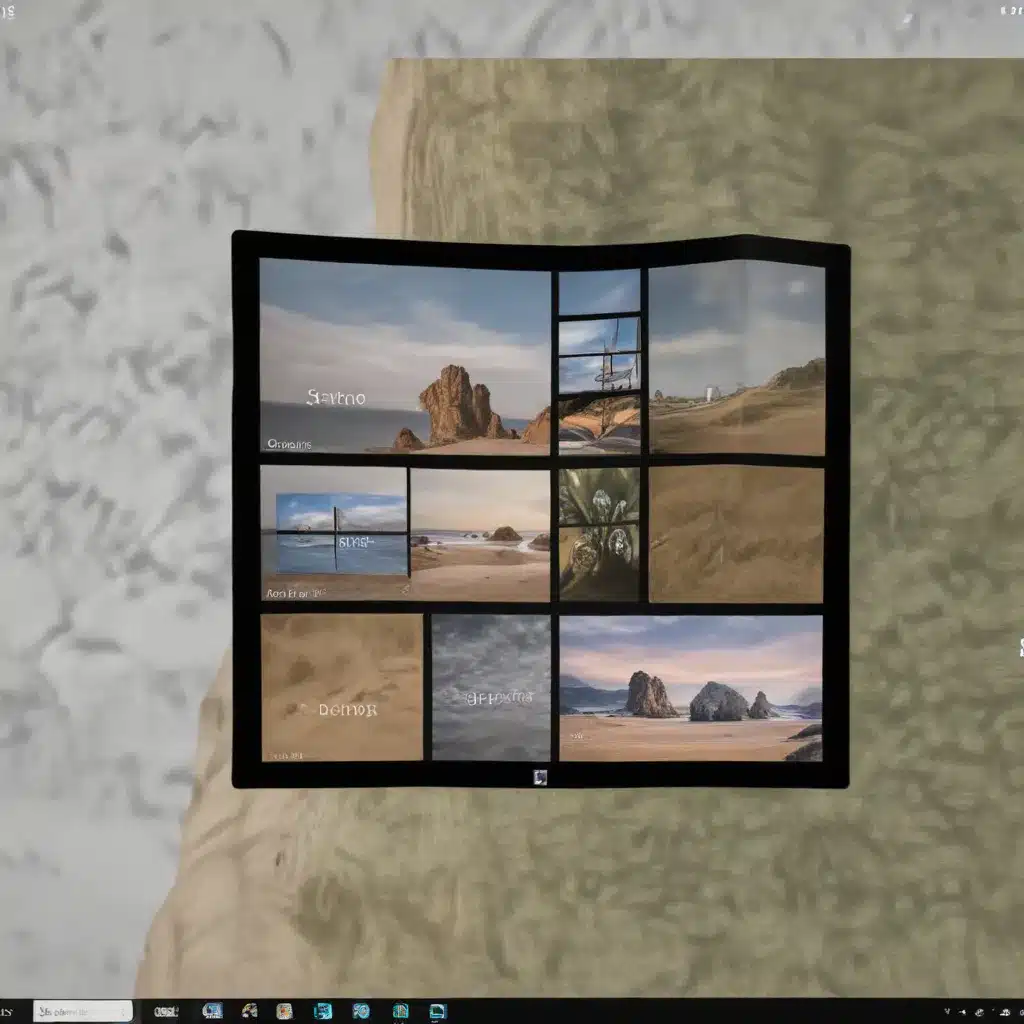
In today’s fast-paced digital landscape, maximizing productivity is crucial for IT professionals and tech-savvy individuals alike. Windows 10 offers a powerful suite of features designed to streamline your workflow and help you accomplish more in less time. Among these tools, the Snap Layouts and Snap Assist functionalities stand out as game-changers for efficient multitasking and window management.
Mastering Snap Layouts: Effortless Window Arrangement
The Snap feature in Windows 10 provides a seamless way to arrange and organize your open windows, enabling you to make the most of your screen real estate. With a few simple gestures or keyboard shortcuts, you can quickly snap your windows into pre-determined layouts, allowing you to focus on the tasks at hand without constantly resizing or rearranging windows.
Snap Layouts: Customizable and Adaptable
Windows 10 offers a variety of Snap Layouts, each with its own unique configuration, catering to different workflow preferences and screen sizes. To access the Snap Layouts, simply hover your mouse over the Minimize or Maximize button of the window you’d like to snap, or press the Windows key + Z on your keyboard. This will display a selection of predetermined layouts for you to choose from.
Depending on the size of your display, you may see different layout options, ensuring that you can find the perfect arrangement for your specific needs. Whether you prefer a side-by-side split, a grid-like layout, or a more complex arrangement, Snap Layouts has you covered.
Snap Assist: Effortless Window Filling
Once you’ve snapped your first window into a layout, the Snap Assist feature automatically appears, providing a seamless way to fill the remaining spaces. Snap Assist displays all your other open windows as thumbnails, allowing you to easily select and place them within the chosen layout.
Not only does Snap Assist make the window arrangement process more intuitive, but it also helps you maximize your screen real estate. By resizing the layout boxes, you can ensure that each window fits perfectly, without any wasted space.
Streamlining Workflow with Snap Groups
The Snap Layouts and Snap Assist features work in tandem to create Snap Groups, a powerful tool for enhancing your productivity. When you’ve arranged a specific set of windows using the Snap Layouts, this configuration is automatically saved as a Snap Group.
Accessing Snap Groups with Ease
If you’re working on a particular task that requires multiple applications, you can quickly return to your Snap Group by hovering over one of the open windows within the group. This will display the entire Snap Group, allowing you to seamlessly switch between the applications without having to rearrange your windows.
This feature is especially useful when you’re interrupted or need to switch between different tasks. Rather than manually rearranging your windows, you can simply access the Snap Group and pick up where you left off, ensuring a smooth and uninterrupted workflow.
Mastering Snap with Keyboard and Mouse
While the Snap Layouts and Snap Assist features offer a user-friendly interface, you can further streamline your window management by utilizing both keyboard shortcuts and mouse gestures.
Keyboard Shortcuts for Snap
Press the Windows key + Z to open the Snap Layouts menu, then use the corresponding number to select the layout you want to use. You can also hold down the Windows key and use the arrow keys to quickly snap a window to the left, right, or top of the screen.
Mouse-Driven Snap Techniques
Alternatively, you can use your mouse to snap windows by simply dragging and dropping them to the edges or sides of your screen. As you drag the window, the Snap Layouts menu will appear, allowing you to choose the desired arrangement.
Additionally, you can hover your mouse over the Minimize or Maximize button of a window to bring up the Snap Layouts menu, making it easy to quickly snap windows into place.
Optimizing Your Workflow with Multitasking Strategies
Snap Layouts and Snap Assist are just one part of the overall multitasking capabilities in Windows 10. By leveraging additional features, such as multiple desktops and external display management, you can further enhance your productivity and organizational prowess.
Multiple Desktops: Keeping Projects Separate
Windows 10 allows you to create and switch between multiple desktops, enabling you to segregate your work, personal, and entertainment-related applications. This can be particularly useful for remote workers or individuals juggling multiple projects simultaneously.
To create a new desktop, simply click the Task View icon on the taskbar and select “New desktop.” You can then open the apps you need for a specific task on that desktop, and easily switch between them using the Task View.
Seamless Multi-Display Management
If you’re fortunate enough to have multiple monitors, Windows 10 can automatically remember how you’ve arranged your apps and windows across displays. When you reconnect your PC, everything will be automatically put back into place, saving you valuable time and effort.
You can manage your multi-display settings by navigating to the Display settings in the Windows 10 Settings app, ensuring that your workspace is optimized for maximum productivity.
Conclusion: Unlock Your Productivity Potential
By mastering the Snap Layouts, Snap Assist, and other multitasking features in Windows 10, you can unlock a new level of efficiency and streamline your daily workflows. Whether you’re a busy IT professional, a remote worker, or a power user, these tools can help you breeze through tasks, minimize distractions, and focus on what truly matters.
Remember, the IT Fix blog is here to provide you with the latest insights and practical tips to enhance your technology experience. Embrace the power of Snap Layouts and Snap Assist, and watch your productivity soar to new heights.


