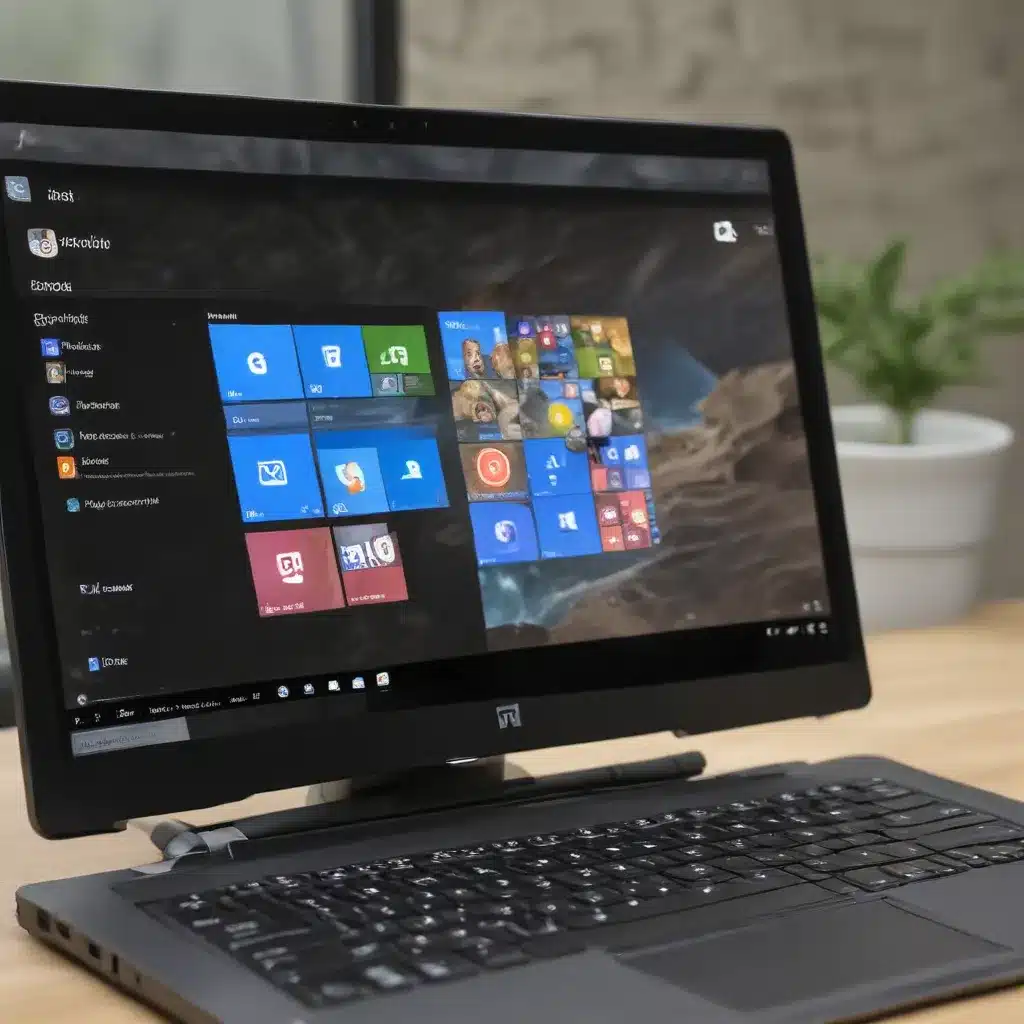
In today’s fast-paced digital landscape, maximizing productivity and efficiency is crucial for IT professionals and tech-savvy individuals alike. One powerful tool that can revolutionize your workflow is the Windows 10 Snap Assist feature. As a seasoned IT expert, I’m excited to share practical tips and in-depth insights that will help you harness the full potential of this remarkable functionality.
Unlocking the Power of Snap Assist
Windows 10’s Snap Assist is a game-changing feature that allows you to organize and optimize your screen space, enabling you to multitask with ease. This intuitive tool comes into play when you’ve snapped a window but have additional available space on your display. Snap Assist will then present you with thumbnails of your other open windows, allowing you to quickly select the one you want to fill the remaining space.
But Snap Assist offers even more flexibility. If you have two windows displayed side-by-side, you can resize them simultaneously by selecting and dragging the dividing line. Simply resize one window to your desired size, and the other will automatically adjust to fit alongside it, ensuring no wasted screen real estate.
Mastering Snap Assist: Techniques and Shortcuts
To fully leverage the power of Snap Assist, it’s essential to familiarize yourself with the various techniques and shortcuts available. Let’s dive into the details:
Using the Mouse: Drag and Drop
The most intuitive way to utilize Snap Assist is by using your mouse. Simply click on the title bar of a window and drag it to the edge of the screen. For a half-screen snap, drop the window at the left or right edge. For a quarter-screen snap, drag the window to the desired corner.
Keyboard Shortcuts: Windows + Arrow Keys
If you prefer keyboard shortcuts, you can achieve the same results with a few keystrokes. Press and hold the Windows key while simultaneously pressing the right or left arrow key to create a half-screen snap. For quarter-screen snaps, follow the same steps and then use the up or down arrow keys to position the window in the desired corner.
Snap Assist in Action
Once you have your initial window snapped, Snap Assist will spring into action, presenting you with thumbnails of your other open windows. Simply click on the thumbnail of the window you want to add to the available space, and it will instantly snap into place, creating a seamless multitasking experience.
Maximizing Productivity with Snap Groups
Windows 10 takes multitasking a step further with the introduction of Snap Groups. When working on a specific task, you can snap two or more open apps or windows together to create a “Snap Group.” This feature allows you to quickly switch between your grouped windows, ensuring that your workflow remains uninterrupted.
To access your Snap Groups, simply hover over one of the open apps in your taskbar, and you’ll see the associated group. This makes it easy to return to your designated workspaces, whether you’re juggling a quarterly report, a team chat, and a client presentation, or any other combination of tasks.
Multiple Desktops: Organizing Your Digital Workspace
In addition to Snap Assist and Snap Groups, Windows 10 also offers the ability to create multiple desktops, further enhancing your productivity. This feature is particularly useful for keeping unrelated, ongoing projects organized or for quickly switching between different work contexts before a meeting.
To create a new desktop, simply click the Task View icon on your taskbar and select “New desktop.” You can then open the apps you want to use on that desktop. When you’re ready to switch between desktops, simply click the Task View icon again and select the desired workspace.
Moreover, you can even choose different backgrounds for each desktop, allowing you to visually differentiate your work environments and reduce the risk of confusion or distraction.
Seamless Transitions Across Displays
For those who work with external or multiple displays, Windows 10 offers an additional layer of convenience. The operating system can remember how you had your apps arranged, ensuring that when you plug your PC back in, everything is automatically put back into place. This feature is particularly useful for professionals who frequently move between different workspaces or home and office setups.
To access the settings for this functionality, simply go to Start > Settings > System > Display > Multiple Displays.
Customizing Snap Assist: Tailoring to Your Preferences
While Snap Assist is a powerful tool for boosting productivity, it may not be the optimal choice for every user or every task. Fortunately, Windows 10 allows you to customize the Snap Assist settings to suit your preferences.
To disable or manage Snap Assist, open the Settings app, select System, and click Multitasking. From there, you can toggle the Snap Windows feature on or off, as well as enable or disable the various Snap Assist settings, such as the ability to automatically arrange windows or display thumbnail previews.
Unlock Your Full Potential with IT Fix
Discovering and mastering the Windows 10 Snap Assist feature is just the beginning of your journey towards enhanced productivity and efficiency. At IT Fix, we’re dedicated to providing IT professionals and tech-savvy users with the tools, insights, and support they need to unlock their full potential.
Whether you’re looking to streamline your workflow, troubleshoot hardware issues, or stay up-to-date on the latest technology trends, our comprehensive resources and expert guidance can help you achieve your goals. Explore our website and discover how we can empower you to boost your productivity and stay ahead of the curve.


