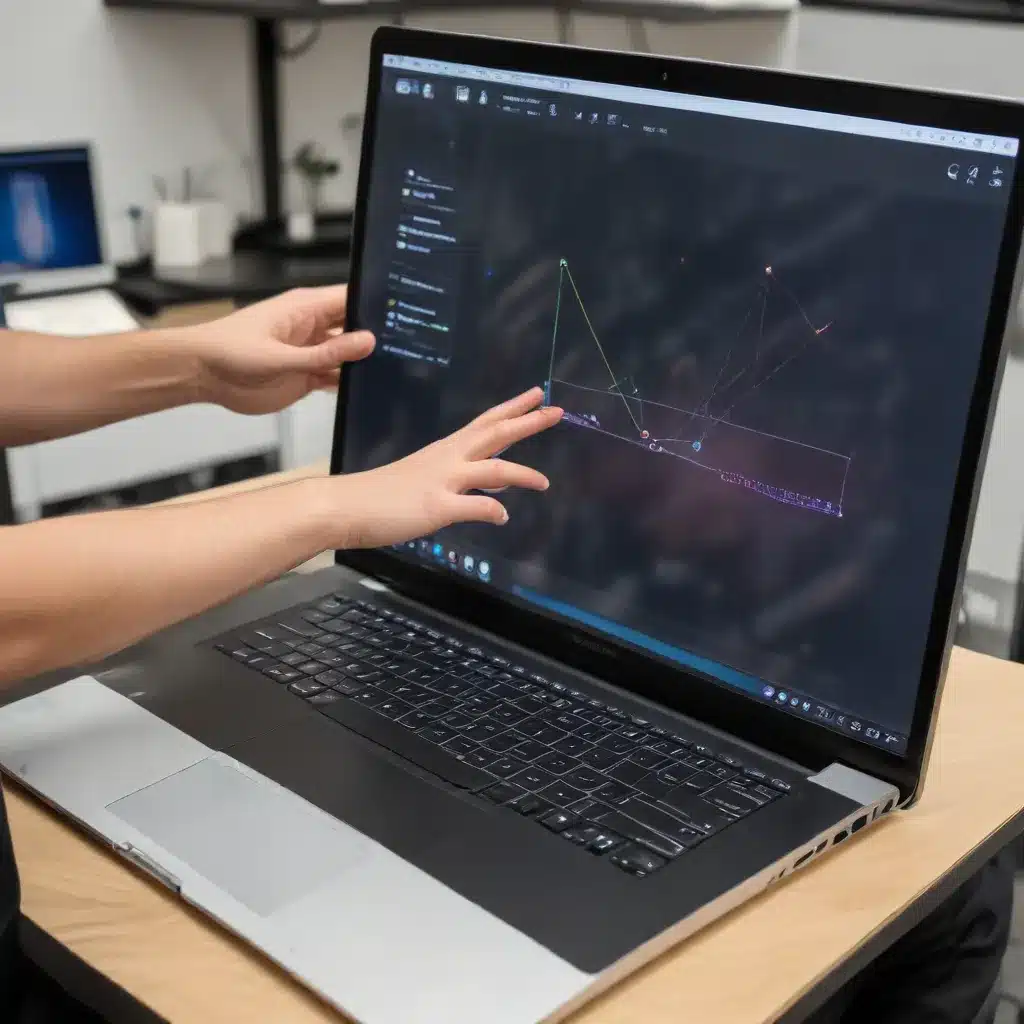
As an experienced IT professional, I understand the frustration that can come with a malfunctioning touchscreen on your laptop. Whether it’s a recent Windows update or a more persistent issue, a miscalibrated touchscreen can significantly impact your productivity and overall user experience. In this comprehensive guide, we’ll explore practical steps to properly calibrate your laptop’s touchscreen digitizer, helping you regain the pinpoint accuracy and responsive touch you expect.
Understanding Touchscreen Digitizer Calibration
The touchscreen on your laptop is powered by a digitizer, a specialized component that converts your physical touch input into digital signals your computer can understand. Over time, various factors can cause the digitizer to become miscalibrated, leading to inaccurate touch recognition or even complete loss of functionality.
Some common causes of touchscreen digitizer issues include:
- Software updates: Incompatible or buggy software updates can disrupt the calibration, causing touch input to become unreliable.
- Hardware changes: Replacing or upgrading components like the display or touchscreen module can result in a need for recalibration.
- Physical damage: Drops, impacts, or other physical trauma can dislodge the digitizer or alter its alignment.
- Environmental factors: Extreme temperatures, humidity, or electromagnetic interference can interfere with the digitizer’s performance.
To regain control and ensure accurate touch input, it’s crucial to properly calibrate your laptop’s touchscreen digitizer. This process aligns the physical touch points with the corresponding digital coordinates on the screen, allowing your computer to interpret your touch commands accurately.
Step-by-Step Touchscreen Digitizer Calibration
Calibrating your laptop’s touchscreen digitizer typically involves a few straightforward steps. Let’s walk through the process:
1. Identify the Touchscreen Driver and Software
The first step is to ensure you have the proper touchscreen drivers and software installed on your laptop. Depending on your device manufacturer, you may need to download and install specific drivers or utility software to access the calibration tools.
Visit the manufacturer’s website and search for your laptop model or the touchscreen component. Download and install the latest drivers and any accompanying software, such as:
- Dell: Dell Precision Touchscreen Utility
- HP: HP Touchpoint Manager
- Lenovo: Lenovo Pen and Touch Settings
- Microsoft: Windows Ink Workspace
2. Launch the Calibration Tool
Once you have the necessary software installed, locate and launch the touchscreen calibration tool. The specific steps may vary slightly depending on your operating system and manufacturer, but the general process is as follows:
- Windows 10: Open the Start menu, search for “Calibrate the screen for pen or touch input,” and select the option.
- Windows 11: Open the Start menu, search for “Tablet PC Settings,” and select “Calibrate” under the Tablet PC Settings window.
- Manufacturer-specific software: Look for a “Calibration” or “Digitizer Calibration” option within the touchscreen-related utility software you installed.
3. Follow the On-Screen Calibration Instructions
The calibration tool will typically guide you through a step-by-step process to properly align your touchscreen. This may involve:
- Tapping on target points: The tool will display a series of targets on the screen, and you’ll need to tap each one accurately with your finger or a stylus.
- Adjusting the calibration settings: The software may provide sliders or other controls to fine-tune the calibration based on your feedback.
- Verifying the calibration: Test the touchscreen by interacting with different areas of the display to ensure accurate and responsive touch input.
Be patient and follow the instructions carefully, as precise calibration is crucial for optimal touchscreen performance.
4. Save and Apply the Calibration Settings
Once you’ve completed the calibration process, be sure to save the settings and apply them to your system. Depending on the software, this may involve clicking a “Save” or “Apply” button.
In some cases, you may need to restart your laptop for the changes to take effect fully. Follow any additional prompts or instructions provided by the calibration tool to ensure the new settings are properly implemented.
Troubleshooting Touchscreen Calibration Issues
If you encounter difficulties during the calibration process or continue to experience touch accuracy problems, try these additional troubleshooting steps:
-
Check for Windows Updates: Ensure your laptop is running the latest version of Windows, as updates may include fixes for touchscreen-related issues.
-
Disable and Reenable the Touchscreen: Open the Device Manager, locate the touchscreen driver, and disable it. Wait a few seconds, then re-enable the driver to reset the connection.
-
Uninstall and Reinstall Touchscreen Drivers: Remove the existing touchscreen drivers, then download and install the latest version from the manufacturer’s website.
-
Adjust Display Scaling Settings: High-resolution displays may require adjustments to the display scaling settings to properly align the touchscreen input.
-
Perform a Factory Reset: As a last resort, consider performing a factory reset on your laptop to restore the system to its default state, which may resolve any deep-seated calibration problems.
Maintaining Touchscreen Calibration
To keep your laptop’s touchscreen functioning at its best, consider these ongoing maintenance tips:
- Regularly Recalibrate: Repeat the calibration process every few months or after major software updates to ensure the digitizer remains properly aligned.
- Use a Stylus or Finger: Avoid using sharp objects that could damage the touchscreen surface. Opt for a compatible stylus or use your finger for touch input.
- Keep the Screen Clean: Gently wipe the touchscreen with a microfiber cloth to remove fingerprints, smudges, and other debris that could interfere with touch sensitivity.
- Protect Against Physical Damage: Use a protective case or sleeve when transporting your laptop to prevent impacts that could knock the digitizer out of alignment.
By following these steps and maintaining your laptop’s touchscreen, you can ensure reliable, accurate, and responsive touch input for enhanced productivity and user experience.
Remember, if you encounter any persistent issues or require further assistance, don’t hesitate to reach out to the IT Fix team at https://itfix.org.uk/. Our seasoned IT professionals are always ready to provide expert guidance and practical solutions to help you get the most out of your technology.


