Understanding the Risks and Challenges of DIY Smartphone Screen Repair
As a seasoned IT professional, I’ve seen my fair share of smartphone owners eager to tackle screen repairs on their own. While the allure of saving money and getting your device back up and running quickly is understandable, DIY smartphone screen repair is not a task to be taken lightly. In this comprehensive guide, we’ll explore the potential risks, necessary tools, and step-by-step instructions to help you make an informed decision on whether DIY screen repair is the right choice for your device.
Assess the Damage and Understand the Repair Process
The first step in any successful DIY screen repair is to thoroughly assess the extent of the damage to your smartphone’s display. Look for cracks, scratches, or dead pixels that may indicate a more serious issue. Understand that the screen is not the only component that may need to be replaced – the digitizer, which handles touch input, is often integrated with the screen and may need to be replaced as well.
Before attempting any DIY repair, it’s crucial to research the specific model of your smartphone and identify the appropriate replacement parts. Sourcing the correct screen assembly is key, as using an incompatible part can lead to further damage or even render your device unusable. Reputable online marketplaces like https://itfix.org.uk/ often provide a wide selection of verified replacement parts to ensure a successful repair.
Gather the Necessary Tools and Equipment
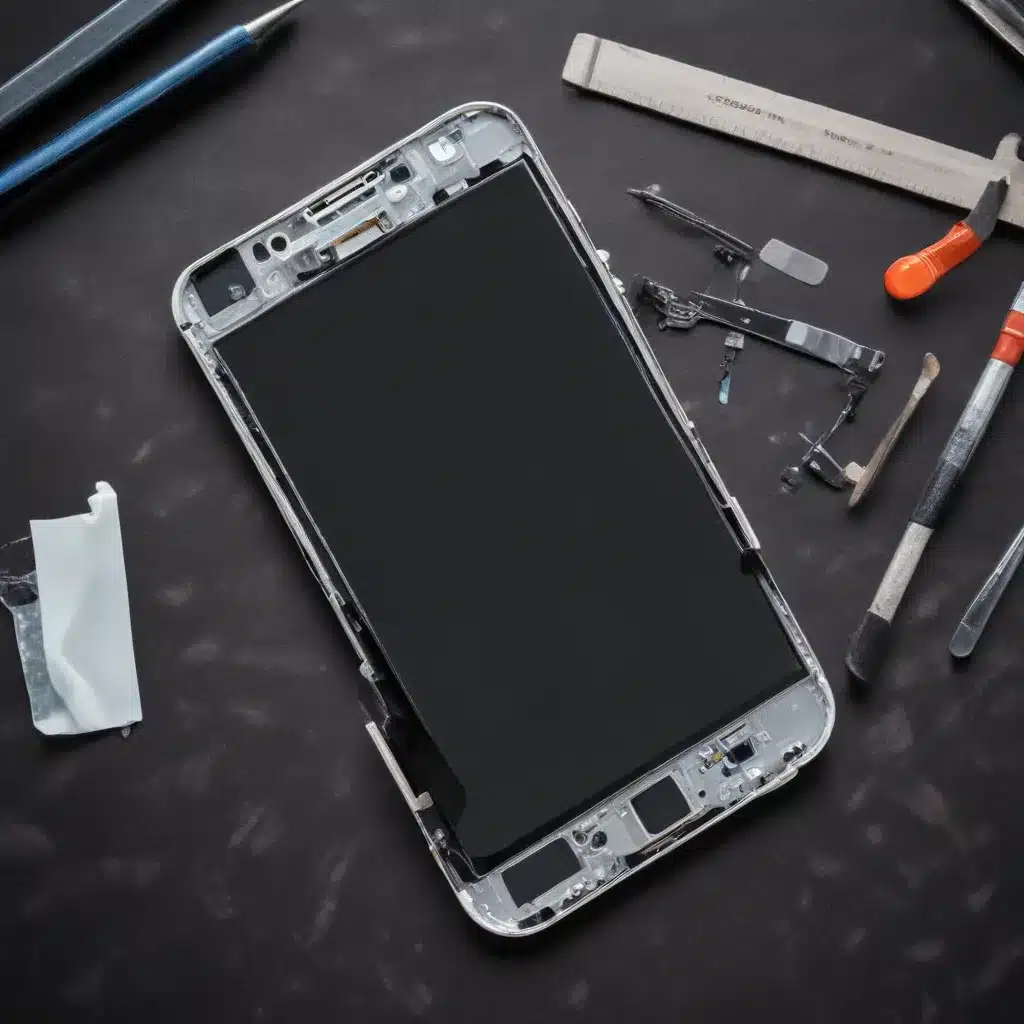
Properly equipping yourself for a DIY smartphone screen repair is essential. At a minimum, you’ll need the following tools:
- Precision screwdriver set
- Tweezers or plastic pry tools
- Adhesive or double-sided tape
- Isopropyl alcohol and lint-free cloths
- Protective gloves and a clean, well-lit work area
Depending on the specific model of your smartphone, you may also require additional tools like suction cups, heat guns, or specialty repair kits. Thoroughly review repair guides and documentation to ensure you have everything needed to complete the job safely and effectively.
Prepare Your Smartphone for the Repair Process
Before beginning the repair, power off your smartphone and remove any protective cases or accessories. Carefully disconnect the battery to avoid any potential electrical hazards. Work in a clean, well-lit area and take precautions to prevent static discharge, which can damage sensitive electronic components.
Follow Step-by-Step Repair Instructions Carefully
With your tools and replacement part in hand, you can now begin the screen replacement process. Refer to detailed repair guides, such as those found on https://itfix.org.uk/, to ensure you follow the correct disassembly and reassembly steps for your specific smartphone model. Take your time, work methodically, and be prepared to encounter unexpected challenges along the way.
Important Considerations:
- Familiarize yourself with the internal layout and components of your smartphone before attempting any disassembly.
- Exercise extreme caution when handling delicate components, such as the display, digitizer, and fragile cables.
- Properly dispose of any old or damaged parts, ensuring compliance with local environmental regulations.
Test and Reassemble Your Smartphone
Once you’ve successfully installed the new screen, carefully reconnect the battery and power on your device. Thoroughly test all functions, including the display, touch input, and any additional features, to ensure the repair was successful.
If everything is working as expected, you can now reassemble your smartphone, reattach any protective cases or accessories, and enjoy your newly repaired device.
Weighing the Pros and Cons of DIY Smartphone Screen Repair
Before embarking on a DIY smartphone screen repair, it’s important to carefully consider the potential benefits and drawbacks of this approach.
Pros of DIY Smartphone Screen Repair:
- Cost Savings: Replacing a smartphone screen yourself can be significantly less expensive than paying for professional repair services, especially for older or budget-friendly models.
- Convenience: You can complete the repair on your own schedule, without the need to schedule an appointment or wait for a repair shop.
- Skill Development: Successfully completing a DIY screen repair can be a rewarding experience, allowing you to develop valuable troubleshooting and repair skills.
Cons of DIY Smartphone Screen Repair:
- Risk of Further Damage: Improper handling or disassembly can lead to additional damage to your smartphone’s internal components, potentially rendering the device unusable.
- Voided Warranty: Attempting a DIY repair may void the manufacturer’s warranty, leaving you without that level of protection.
- Time-Consuming Process: Smartphone screen repairs can be complex and time-consuming, especially for those without prior experience.
- Lack of Professional Expertise: Professional repair technicians have the training, tools, and experience to efficiently and effectively complete screen replacements, which may be preferable for some users.
Ultimately, the decision to pursue a DIY smartphone screen repair should be based on your level of technical expertise, the value of your device, and your willingness to accept the associated risks. If you’re unsure or feel uncomfortable with the process, it may be best to seek the assistance of a professional repair service.
Conclusion
DIY smartphone screen repair can be a cost-effective and rewarding solution, but it’s not a task to be taken lightly. By understanding the risks, gathering the necessary tools and equipment, and following detailed repair instructions, you can increase your chances of successfully repairing your device. However, for those who are uncertain or prefer a more comprehensive repair experience, seeking the assistance of a professional service may be the best option.
Regardless of your approach, prioritizing safety, attention to detail, and a thorough understanding of the repair process are essential for a successful smartphone screen repair. With the right mindset and preparation, you can take control of your device’s maintenance and get back to using your smartphone with confidence.


