Introduction
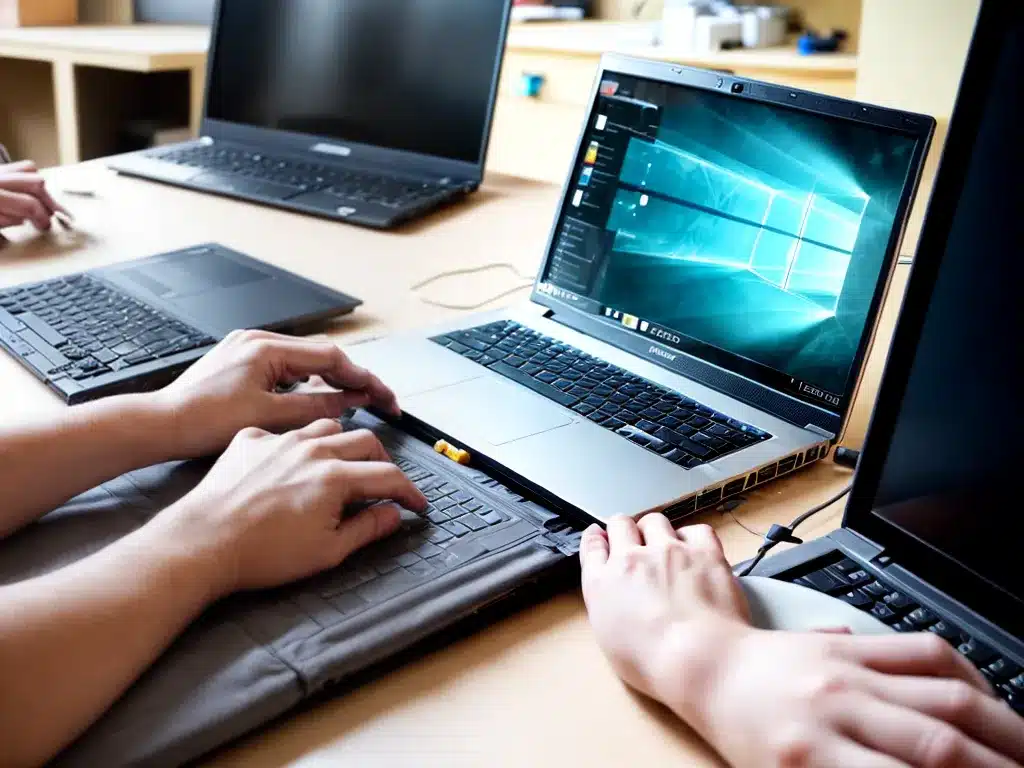
As someone who uses a laptop regularly at home, having some basic repair skills can really come in handy. Being able to diagnose and fix minor issues yourself can save you time and money. With a little knowledge and some simple tools, you can become proficient at home laptop repairs. Here are 54 tips to help you improve your skills.
Learn the Basics
-
Study your laptop’s hardware. Learn what the components are called and what they do. Be familiar with the motherboard, CPU, RAM, hard drive, cooling fan, battery, etc.
-
Get a repair manual for your specific laptop model. This will have detailed steps for repairs and upgrades.
-
Watch online tutorial videos to see repairs being done. Visuals are extremely helpful when learning.
-
Start with simple repairs like replacing RAM and hard drives to build confidence.
-
Collect the basic tools: Small screwdriver set, tweezers, thermal paste, compressed air, etc. Specialize in laptop tools versus standard tools.
-
Organize spare parts and accessories. Having backup batteries, AC adapters, memory, hard drives, etc. on hand prevents downtime.
-
Get an anti-static wrist strap to avoid damaging parts with static electricity when their insides are exposed.
Troubleshooting Skills
-
When issues arise, boot into safe mode to see if it’s software related. If the problem disappears in safe mode, it’s a software issue.
-
Check all cables and connections. Reseating connections can fix power, battery charging, display problems.
-
Inspect components for damage. Look for cracked screens, water damage, damaged ports, etc.
-
Download diagnostic software to stress test components and detect faults.
-
Check temperature readings in BIOS. Overheating can cause freezes, crashes and shutdowns.
-
Research error codes to narrow down the source of hardware failures. Error codes point to specific failed components.
-
Back up data before making repairs incase anything gets corrupted or lost in the process.
Taking It Apart
-
Use plastic pry tools to avoid scratching the body/case when separating bonded sections.
-
Follow disassembly steps carefully. Each laptop model has a unique process for taking apart and proper reassembly.
-
Organize and label screws/parts as you remove them to avoid mixups later.
-
Take photos at each stage for reference when putting back together.
-
Disconnect the battery before doing any major disassembly. Avoid shorts.
-
Lift components by edges, not by sensitive parts like wires that can tear loose.
-
Apply new thermal paste when reattaching heatsinks for optimal heat transfer.
Software Repairs
-
Restore from a system image to undo software corruption or revert to factory condition.
-
Wipe and reinstall the OS if software troubleshooting hit a dead end. Backup data first.
-
Update all drivers, especially graphics, wireless, touchpad. Outdated drivers cause glitches.
-
Disable startup programs that aren’t needed to speed up boot time.
-
Uninstall unused programs to reclaim disk space and reduce system overhead.
-
Run disk cleanup to delete junk files that accumulate over time.
-
Check task manager for high CPU, RAM, or disk usage by rogue processes.
Hardware Upgrades
-
Add RAM to improve multitasking performance if your laptop supports it. Match specifications.
-
Install an SSD for huge speed boosts over a mechanical hard drive. Clone drive first.
-
Replace wireless card with newer/faster versions as technology improves.
-
Consider maxing out processor if possible. Some models allow CPU upgrades.
-
Add an SD card reader if your laptop lacks a built-in one. Handy for transfers.
-
Replace an optical drive with a secondary hard drive using a drive caddy for more storage.
Prevention Measures
-
Use a laptop cooling pad to help avoid overheating components.
-
Get a durable case to absorb impacts incase of drops.
-
Don’t block the vents while laptop is on, this causes overheating.
-
Avoid using it in dusty environments which can clog air intakes.
-
Carry it gently when travelling to minimize bumps/vibrations. Use a padded sleeve.
-
Unplug the AC adapter by gripping the plug, not the cord to avoid loosening it.
-
Limit foods/drinks when using your laptop to prevent damaging spills inside.
Conclusion
With the right mindset of preventative care, willingness to learn, and some fundamental skills – handling home laptop repairs is very achievable. Start with the easier fixes to build confidence. Troubleshoot issues methodically. Assemble a basic toolkit. Follow tutorials carefully. With experience, you can take on more advanced repairs and upgrades. Handling your own fixes means no waiting, no shipping off for depot service, and no hassles – just convenient in-home repairs when needed.


