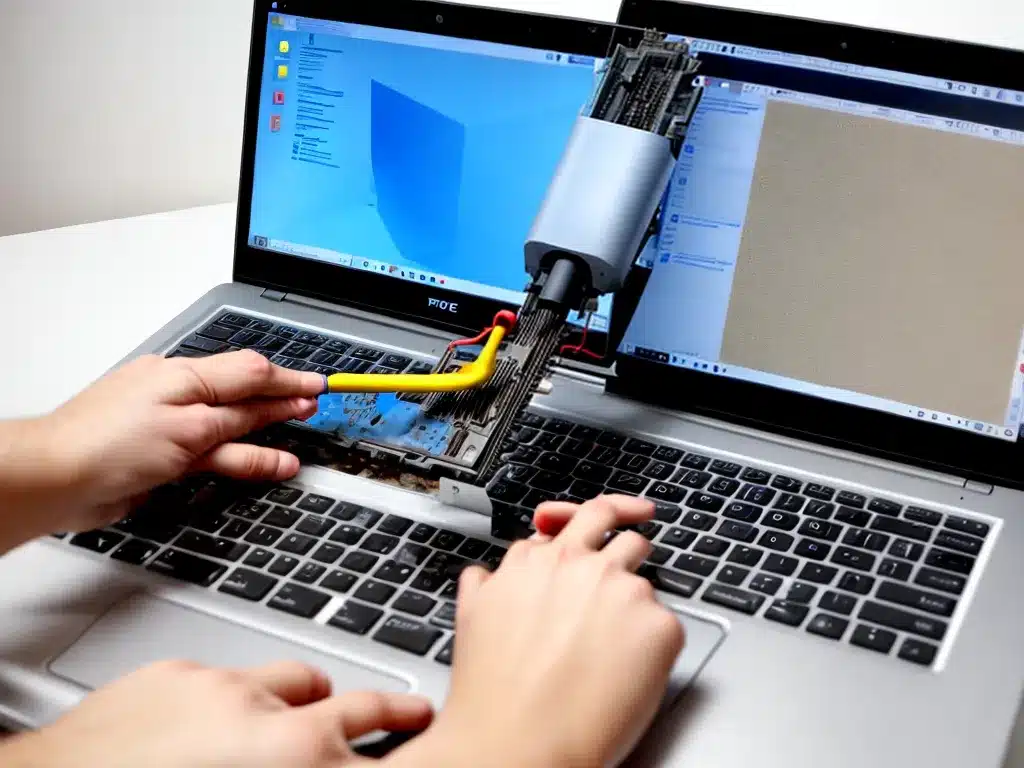
Replacing the thermal paste on your laptop’s CPU and GPU can help lower temperatures and increase performance. However, opening up your laptop and reapplying thermal paste requires care to avoid damaging components. Follow these steps to safely replace thermal paste on a laptop:
Gather the Required Tools
You’ll need a few basic tools:
-
Small philips head screwdriver – To remove laptop case screws. Make sure the screwdriver properly fits the laptop’s screws.
-
Plastic prying tools – Used to carefully separate the case. Avoid metal tools which could damage components.
-
Isopropyl alcohol and microfiber cloth – To clean old thermal paste off CPU and heatsink.
-
Thermal paste/compound – Choose a reputable brand designed for computer CPUs.
-
Latex or nitrile gloves – To avoid getting skin oils on components when handling.
Disassemble the Laptop
Follow these steps to safely take apart your laptop:
-
Unplug AC power and remove battery – Shut down, unplug power adapter and remove any removable battery.
-
Document screw locations – Note which screws came from where before removing them.
-
Remove bottom case screws – Use the philips screwdriver to remove all screws from the bottom.
-
Carefully pry open case – Insert plastic tools around the perimeter and slowly pry up the case top.
-
Disconnect cables and remove components – Depending on model, disconnect cables, WiFi antennas, and remove RAM/drive/fans.
Clean Off Old Thermal Paste
Follow these steps to properly clean CPU and heatsink:
-
Wipe off old paste with alcohol – Use the isopropyl alcohol and microfiber to remove all old dried paste.
-
Remove any residue – Ensure all old paste is completely removed from CPU and heatsink.
-
Let alcohol evaporate – Give a few minutes for any alcohol to fully evaporate.
Apply New Thermal Paste
Use these tips for best results applying new paste:
-
Use a pea sized amount – Only a small dot about the size of a pea is needed right on the CPU center.
-
Evenly spread paste – Gently use something like a business card to evenly spread the paste over the CPU.
-
Re-attach heatsink – Carefully place heatsink back onto CPU and re-attach. Make sure heatsink is properly seated.
-
Re-assemble laptop – Reconnect all cables, put components back in place, and re-install bottom case.
-
Boot and test – Turn on laptop and verify temps are lower using a system monitor.
Reapplying thermal paste can seem daunting but takes patience. Following proper safety steps will ensure you don’t damage sensitive components. Take your time disassembling and cleaning. Applying an even layer of fresh high-quality paste will lower CPU temps.


