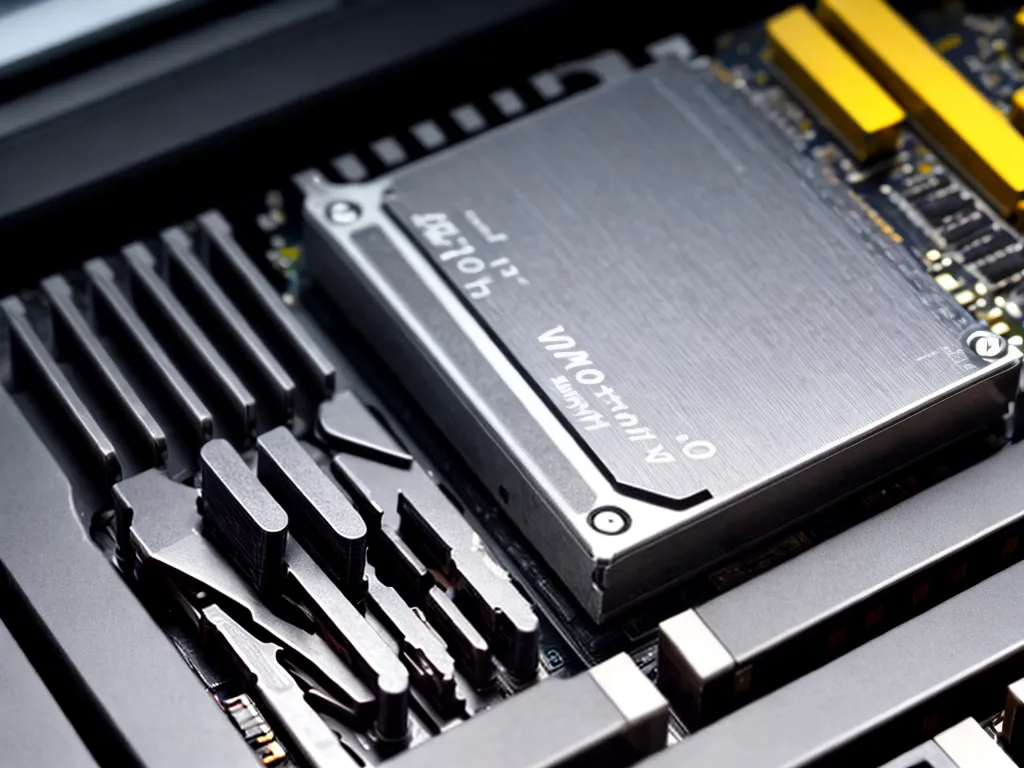
Adding more RAM (random access memory) to your computer is one of the best and easiest ways to improve its performance. Here is a step-by-step guide on how to add more RAM:
Determine Your Computer’s RAM Type and Capacity
Before purchasing new RAM modules, you need to know what type of RAM your computer uses and how many RAM slots you have available.
Check Your Computer’s RAM Type
There are several common RAM types, including DDR, DDR2, DDR3, and DDR4. To determine what RAM type your computer uses:
- On Windows – Press the Windows key + Pause/Break key to open System Information and look at the “System Type” field.
- On Mac – Click the Apple menu and select “About This Mac.” Look at the “Memory” field.
- Manual Check – Open your computer case and visually inspect the RAM stick labels for the RAM type.
Check Available RAM Slots
Most computers have either 2 or 4 RAM slots. To find out how many you have:
- On Windows – Open System Information and check “Memory slots used” vs “Memory slots available.”
- On Mac – Click “About This Mac” and check the number of memory slots listed.
- Manual Check – Open your computer case and count the number of RAM sticks vs available slots on the motherboard.
Purchase Compatible New RAM
Once you know your RAM type and available slots, you can buy new RAM. The new RAM must match the following criteria for compatibility:
- Type – Must match your computer’s RAM generation (DDR3, DDR4, etc).
- Pin Configuration – Laptop and desktop RAM have different pin layouts.
- Frequency – Must match or exceed your RAM frequency, e.g. 1600MHz, 2400MHz.
- Capacity – Depends on open slots. Typical sizes are 4GB, 8GB, 16GB per module.
For optimum performance, buy RAM from the same manufacturer or buy a kit with matched modules.
Install the New RAM
Safety Steps
Before handling RAM, take these precautions:
- Turn off computer and unplug power – RAM installation requires powering down and disconnecting all power sources.
- Use anti-static measures – Static electricity can damage RAM. Use anti-static wrist strap or frequently touch a metal case surface to discharge static buildup.
- Handle RAM by edges – Avoid touching the RAM contact pins along the bottom edge.
Installation Steps
To install your new RAM modules:
-
Locate the RAM slots – Consult motherboard manual if needed. Slots are typically labeled DIMM 1, DIMM 2, etc.
-
Release retention clips – The slots have retractable clips on both ends. Push the clips outwards to release.
-
Align and insert module – Align the notch on the bottom RAM edge with the tab in the slot. Apply even pressure on both ends until the clips snap back into place.
-
Repeat for additional modules – Insert modules in matched pairs for dual-channel configuration. Refer to motherboard manual.
-
Replace computer cover and reconnect power.
-
Power on computer – The BIOS should detect the new RAM on startup.
Verify RAM Upgrade
To check that the new RAM is working properly:
-
Check System Information – On Windows or Mac view RAM size before and after upgrade.
-
Check RAM slot status – Open computer case and ensure clips have snapped into place properly.
-
Run system memory test – Use built-in tools like Windows Memory Diagnostic to scan for errors.
-
Monitor system performance – New RAM should allow more programs and browser tabs open without slowdowns.
Adding RAM is one of the simplest upgrades to give your computer a noticeable speed boost. With proper installation your computer can leverage the extra memory right away.


