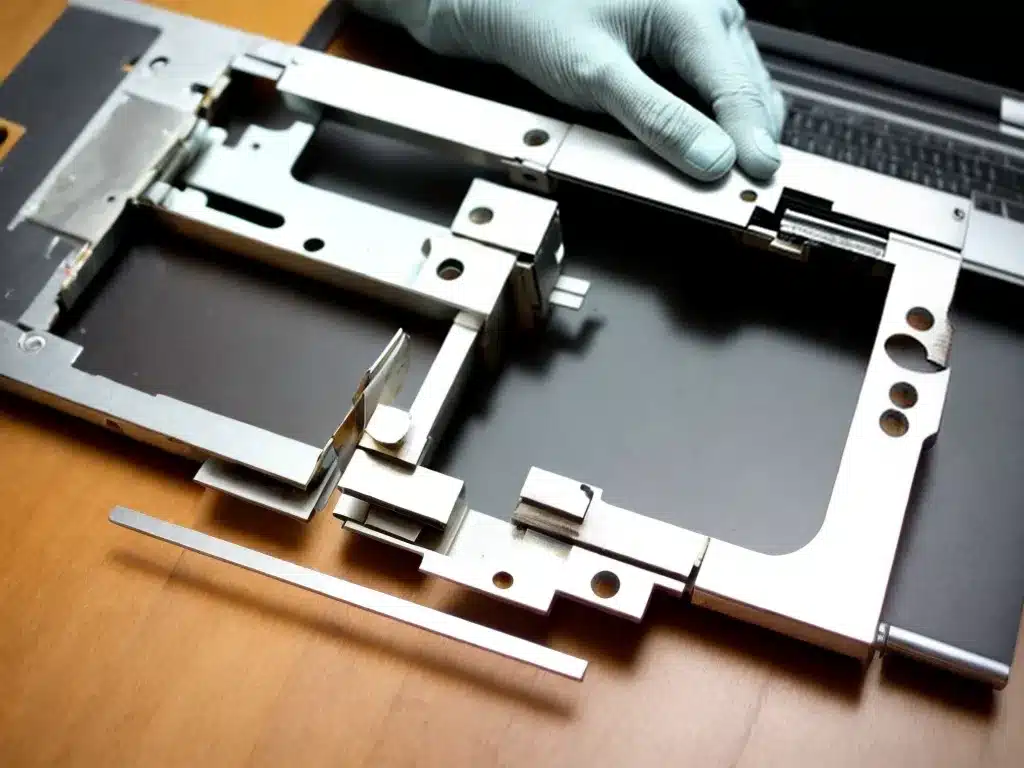
Assess the Damage
The first step is to examine the broken laptop hinge to determine the extent of the damage.
- Carefully open and close the laptop screen and see if the hinge is loose or separated.
- Check if the plastic casing around the hinge is cracked or broken.
- Inspect the mounting brackets on the inside of the screen and main body to see if they are intact.
- Determine if the damage is limited to just the hinge itself or if other components are also affected.
Knowing exactly what’s broken will help you plan the repair. Minor hinge looseness may only require tightening some screws whereas a fully detached hinge or cracked mounting point will need more extensive work.
Gather the Necessary Tools and Supplies
Repairing a laptop hinge requires some basic tools and supplies:
- Screwdrivers – both Phillips and flathead in various sizes to remove screws.
- Pliers – helpful for prying apart snug plastic pieces.
- Super glue or epoxy – for reattaching broken pieces.
- Electrical tape – for temporary hinge fixes or padding.
- Sandpaper – to rough up smooth plastic for better adhesive grip.
- Replacement hinge – may be needed if the original is beyond repair.
Having the right tools on hand will make the job much easier. For example, having a fine tip screwdriver allows you to access the small fastener screws often used in laptop construction.
Take Apart the Laptop to Access the Hinge
With the tools gathered, the next step is to:
- Carefully disconnect any cables attaching the screen to the base.
- Remove any screws fastening the plastic casing together.
- Slowly pry apart the snapped pieces to reveal the hinge mounts.
Taking your time disassembling the laptop will minimize any further damage. Refer to a repair guide for your specific laptop model if you are unsure of how to gain access to the hinge mechanism.
Once you can see the hinge assembly, inspect to confirm your initial damage assessment.
Perform the Necessary Hinge Repairs
Several repair options exist depending on the nature of the damage:
-
If the hinge is just loose, tighten the retaining screws. Apply a drop of super glue or thread locker fluid to reinforce.
-
If the mounting brackets are intact but disconnected, use super glue or epoxy to re-adhere them. Let the adhesive fully cure.
-
If the mounting points are cracked, use plastic welding compound or metal-reinforced epoxy to bond them. The reinforcement will prevent future cracking.
-
If the hinge itself is broken, replace it with a new one matching your make and model. Carefully align and attach using the existing screw holes.
Test the movement of the repaired hinge before continuing reassembly. The motion should be smooth but tight.
Reassemble the Laptop
Once satisfied with the hinge repair, finish by:
- Reattaching any wiring to the screen and base. Double check correct connections.
- Relaying the plastic casing pieces and installing the retaining screws.
- Testing laptop operation before tightening all screws. Confirm screen motion is normal.
Take care putting the laptop back together to avoid accidental damage. Work slowly and refer to manufacturer instructions.
With patience and the right tools, you can successfully fix a broken laptop hinge at home. Just take precautions during disassembly and reassembly. Seek professional help if the repair is beyond your technical skill.


