Introduction
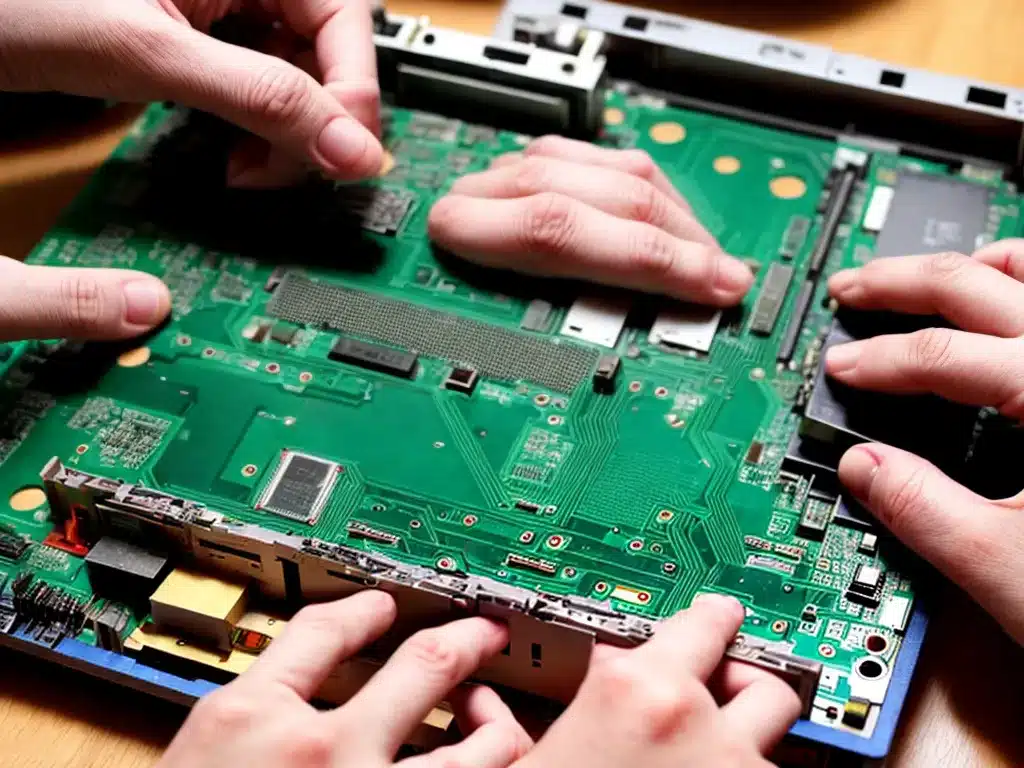
Repairing a laptop motherboard yourself can seem daunting, but with the right tools and patience it is quite doable for most DIYers. Motherboard issues like failed connections, damaged ports, and shorted circuits can often be fixed at home without replacing the entire board. In this guide, I will walk through the full process of diagnosing, troubleshooting, and repairing common laptop motherboard problems. With some basic skills, the right parts, and by following safety precautions, you can often revive a dead laptop and avoid costly professional repair fees.
Gather Tools and Materials
Successfully repairing a laptop motherboard starts with having the proper tools and materials on hand. Here are some must-have items:
-
Screwdrivers – You’ll need a precision screwdriver set with philips and torx bits to remove laptop screws and casing.
-
Thermal paste – For reapplying to the CPU after removing and replacing the heatsink.
-
Soldering iron and solder – For resoldering connections and attaching new ports or slots.
-
Multimeter – To check voltages and diagnose faults.
-
Wire – For bypassing damaged traces or making new connections.
-
Isopropyl alcohol – For cleaning thermal paste and dust buildup.
-
Electrical tape – To insulate exposed or soldered wires.
-
Replacement parts – Like DC jacks, USB ports, or memory slots if needed.
Having a clean, organized, and well-lit workspace is also important when dealing with all of the small components in a laptop motherboard repair.
Troubleshoot the Issue
Before attempting to repair the motherboard, it’s critical to properly diagnose the issue to determine the likely faulty components. Here are some troubleshooting steps to follow:
-
Visual inspection – Look for any burnt, damaged, or missing pieces on the motherboard surface.
-
Check connections – Reseat RAM, cables, and daughterboards in case of loose connections.
-
Test power flow – Use a multimeter to check voltage to ports and components.
-
Isolate issue – Remove non-essential parts like hard drive to test motherboard separately.
-
Research symptoms – Consult repair guides linking problems to specific components.
-
Consider laptop history – Previous drops, spills, or unauthorized repairs providing context.
Accurately troubleshooting will direct your repair efforts and prevent wasted time trying to fix the wrong issues.
Disassemble the Laptop
Once the troubleshooting points to a motherboard fault, the next step is carefully disassembling the laptop to access the motherboard itself. Follow these key steps:
-
Remove battery and disconnect AC power – For safety when working on internal components.
-
Follow manufacturer provided directions – Locate the service manual for your specific laptop model.
-
Organize and label screws/brackets – To assist proper reassembly later.
-
Detach cable connections – Unplug carefully to avoid wire damage.
-
Lift motherboard out – Sometimes requires unscrewing from the chassis.
-
Inspect for damage – Cracked solder joints, burnt components, corrosion, etc.
Working slowly and methodically during disassembly prevents accidentally damaging connectors or losing track of how things fit together.
Complete Circuit Repairs
For many laptop motherboard faults, the issue can be isolated to one or more bad solder connections causing an open or short circuit. Here are some tips for completing effective solder repairs:
-
Clean area – Use isopropyl alcohol and thermal paste remover to expose damaged solder.
-
Prep tools – Heat up and tin the soldering iron tip before use.
-
Reflow old solder – Remove and resolder cracked solder points.
-
Bridge broken traces – Use wire to bypass severed conductive paths.
-
Insulate repairs – Cover exposed wires with heat shrink tubing or electrical tape.
-
Double check – Inspect under magnification and test connectivity.
Proper temperature control and avoiding overheating or lifting pads are vital solder repair skills to prevent further motherboard damage.
Replace Physical Ports
If a motherboard port is cracked or broken altogether, replacement is often the best option. For novice solderers, USB, Ethernet, HDMI, and audio ports are fairly straightforward to replace. Here is a general process:
-
Obtain matching part – Research to get the exact replacement port or slot.
-
Desolder old port – Use solder wick or pump to fully remove.
-
Prepare new part – Bend leads or pins to align with holes.
-
Position and solder – Carefully solder each contact point.
-
Check alignment – Port should be flush with motherboard surface.
-
Test operation – Verify port works before reassembling laptop.
Avoid applying too much force when positioning the new port to prevent lifting the motherboard pads. Patience leads to professional looking port replacements.
Reset BIOS/CMOS After Repairs
Once physical motherboard repairs are complete, a BIOS reset is often required to clear any error codes and load proper defaults. Here is how to safely reset the CMOS:
-
Locate jumpers or battery – Consult manual for CLR_CMOS pins or CR2032 battery.
-
Power off laptop – Battery removed and unplugged.
-
Trigger reset – If jumpers, short pins. If battery, remove for 1 minute.
-
Replace covers – On jumpers or battery holder.
-
Restart laptop – BIOS should load defaults. Reconfigure as needed.
-
Load optimized defaults – Within BIOS menu to stabilize altered settings.
A good BIOS reset clears any lingering issues from the motherboard fault and failed components.
Conclusion
While daunting for beginners, DIY laptop motherboard repairs are very achievable with careful diagnosis, the right tools, proper component replacements, and BIOS resets. Patience and following manufacturer service guides closely prevents costly mistakes. With some basic skills and by adhering to proven troubleshooting and repair processes, you can often save a dead laptop and avoid expensive replacements.


