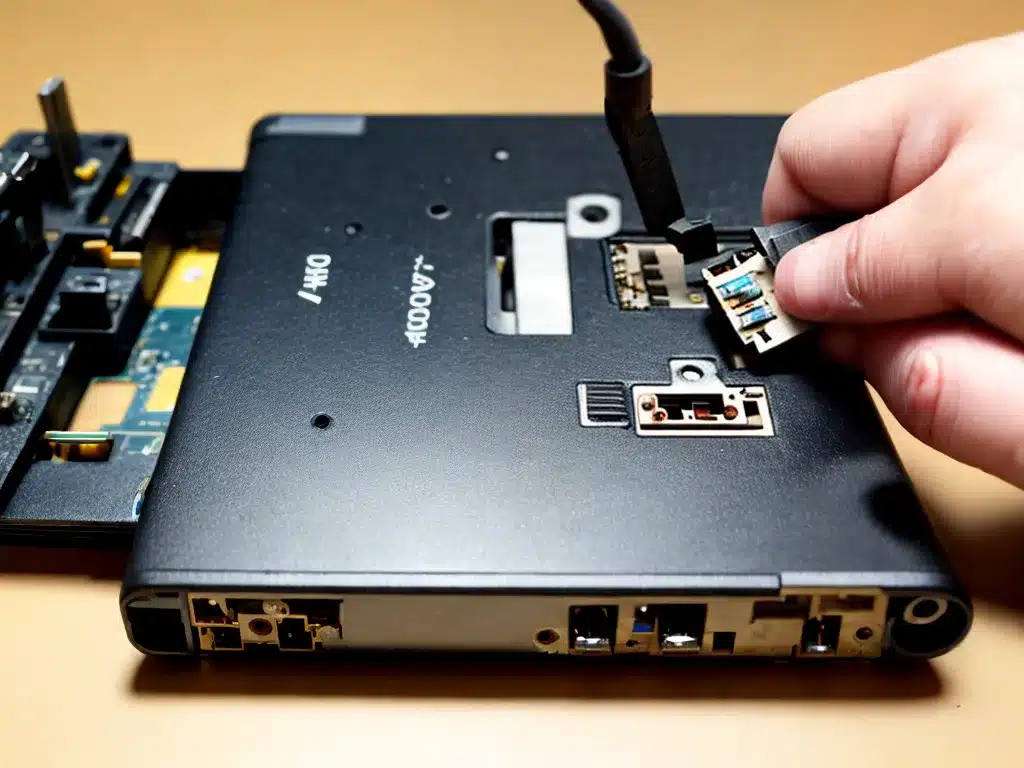
If your laptop suddenly stops charging or only charges intermittently, the problem is likely with the DC power jack. The DC power jack is the port where you plug in the power adapter. Over time, this port can become loose or damaged from regular use. Luckily, the DC power jack is a part that you can easily replace yourself. With a few tools and a replacement part, you can have your laptop charging again in no time.
Why Does the DC Power Jack Fail?
There are a few reasons why DC power jacks fail over time:
Loose Fit
Repeated plugging and unplugging of the power adapter can cause the solder joints holding the DC jack to the motherboard to weaken. This causes the jack to feel loose or wiggle slightly. If the connection is loose, your laptop may only charge at certain angles or stop charging altogether.
Broken Plastic Housing
The plastic housing that holds the DC jack in place can become brittle and crack with regular use. If the plastic housing cracks, it can flex and bend when pressure is applied from plugging in the charger. This can cause the solder joints to weaken or break.
Bent Pin
It’s possible to accidentally bend the center pin inside the DC jack if too much force is applied when plugging in the charger. A slightly bent pin will still make a connection, but easily gets worse over time. If the pin is bent too far, it will no longer connect properly with the charger.
Physical Damage
Dropping your laptop or snagging the power cord can also cause the DC jack to break entirely. If the plastic housing cracks or the solder joints come completely undone, the jack will need to be replaced.
Gather Tools and Supplies
Replacing a DC power jack will require some specific tools and supplies:
Phillips Screwdriver
You’ll need a small Phillips head screwdriver to remove the tiny screws from your laptop’s case. Have a few different sizes handy.
Plastic Pry Tools
Plastic pry tools or a credit card can help you gently separate the plastic case pieces without damaging them.
Soldering Iron and Solder
To remove the old DC jack, you’ll need to desolder it from the motherboard. For the new jack, you’ll need to solder it into place.
Replacement DC Jack
Purchase a replacement DC jack specific to your laptop’s model. Make sure to buy one with the cable already soldered on for easiest installation.
Thermal Paste (optional)
If you need to remove the motherboard, replacing the thermal paste on the CPU can help prevent your laptop from overheating.
Disassemble the Case
Start by disassembling the plastic casing around the motherboard:
-
Unscrew and remove the bottom case plate first. This exposes the inner components.
-
Disconnect any cables or ribbon connectors attached to the motherboard. Make note where they plug in!
-
Unscrew and carefully remove the top case half, lifting straight up once loose. Avoid tearing any remaining wires.
-
If needed, unscrew the motherboard and carefully lift it out.
Remove the Old DC Jack
With the motherboard exposed, you can now access the DC jack:
-
Apply flux to the solder joints holding the old DC jack.
-
Use the soldering iron to heat and desolder each pin.
-
Once fully desoldered, lift out the old DC jack.
-
Use solder wick to thoroughly clean each pad on the motherboard.
Install the New DC Jack
It’s crucial that the new DC jack is positioned and soldered properly:
-
Align the new jack’s pins with the pads on the motherboard.
-
Tack one pin first with a small amount of solder to temporarily hold it in place.
-
Reheat this pin and the pad while pushing down firmly on the jack. This ensures a flush connection before soldering.
-
Solder each pin fully, allowing time for the solder to flow around each joint.
-
Check for any gaps, holes, or cold solder joints. Reflow any questionable joints.
-
Use electrical tape to insulate any exposed wires or solder joints.
Reassemble the Laptop
With the new DC jack installed, you can reassemble your laptop:
-
Replace the motherboard and screw it back down if removed. Consider adding new thermal paste.
-
Carefully connect all ribbon cables and connectors to the motherboard.
-
Replace the top case shell and plastic trim pieces. Press firmly to snap everything back together.
-
Replace all case screws. Do not overtighten!
-
Reconnect the battery and AC power adapter to test charging.
-
If the battery charges properly, replace the bottom case plate.
Troubleshooting Tips
If your laptop still won’t charge after replacing the jack, try these tips:
-
Check the jack for any bent pins or cold solder joints. Reflow any questionable solder.
-
Ensure the polarity is correct – attach the positive wire to the center pin.
-
Test for continuity through the DC jack using a multimeter.
-
Inspect the power adapter cable for damage. Test adapter output voltage.
-
The issue may be with the motherboard if jack has good continuity.
Be patient and methodical to successfully replace a failing DC jack! With the right parts and proper technique, you can often repair your laptop on your own.


