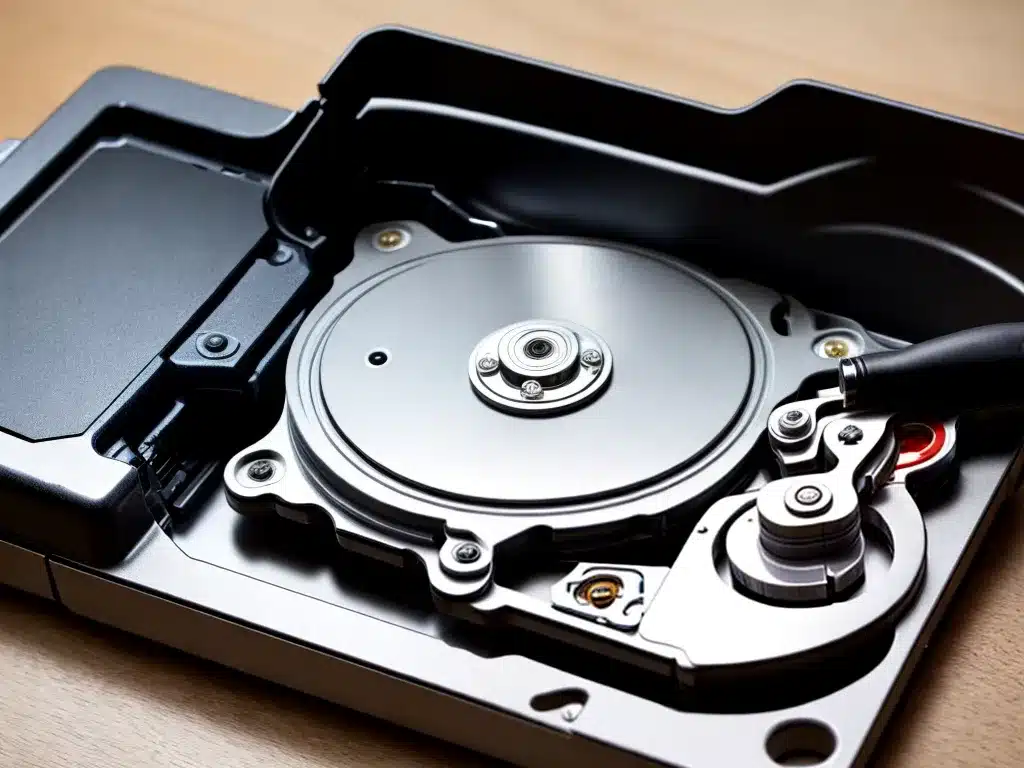
Converting an internal hard drive into an external drive is a great way to revive old drives and get extra storage space and portability. With some simple steps and inexpensive accessories, you can easily transform an internal drive into a handy external unit.
What You Need
- An internal hard drive that you want to convert into an external drive. This can be a drive from an old laptop or desktop.
- An external hard drive enclosure. This is a case that houses the internal drive and connects it to your computer.
- A screwdriver. You’ll need this to open up the enclosure case to install the hard drive.
- A USB cable. The enclosure will come with a USB cable used to connect to your computer.
Advantages of Converting to External
There are several benefits to converting internal drives to externals:
- Revive old drives: Turn that old unused drive from your previous computer into valuable extra storage space.
- Portability: External drives are portable so you can easily transport large files.
- Easy backups: Quickly back up important files by plugging into another computer.
- Data recovery: Retrieve data from a crashed computer by plugging its drive into an external enclosure.
- Low cost: Enclosures are fairly inexpensive compared to buying a whole new external drive.
Choosing an Enclosure
Here are key factors to consider when selecting an enclosure:
- Drive connections: The enclosure must match the internal connector of your drive, which is usually SATA but may be IDE for older drives.
- Drive size: Select an enclosure that accommodates the full height and width of your internal drive. 2.5-inch and 3.5-inch are the common sizes.
- Interfaces: Most enclosures connect via USB, but some may have eSATA or FireWire ports for faster speeds.
- Hot swappable: This feature allows removing and inserting drives without restarting your computer.
Installation Steps
Follow these steps to install your internal hard drive into an external enclosure:
1. Open the enclosure case
Use a screwdriver to open up the enclosure case. This usually involves removing screws on the sides or top.
2. Insert the hard drive
Slide the drive into the enclosure bay and secure it with the necessary screws. Ensure the connection ports line up.
3. Connect cables
Attach the SATA and power cables to your hard drive if not already connected.
4. Close the enclosure
Close the enclosure case and screw it back together. This seals the drive safely inside.
5. Connect to computer
Connect the USB cable to your computer. The drive should appear ready to use!
Usage Tips
Here are some quick tips on using your new external hard drive:
- Let your computer automatically assign a drive letter to the external.
- Format and partition the drive through Disk Management in Windows or Disk Utility on Mac.
- Organize your drive into folders for easy file management.
- Eject the external drive safely before unplugging it to avoid data corruption.
- Handle the drive carefully as physical impacts can damage the internal components.
Converting an unused internal hard drive into an external drive is a cost-effective way to expand your storage capacity. Just get the right enclosure for your drive, install the drive securely into the enclosure, and connect to your computer over USB. With some handy extra storage space, you can now transport files or create backups easily.


