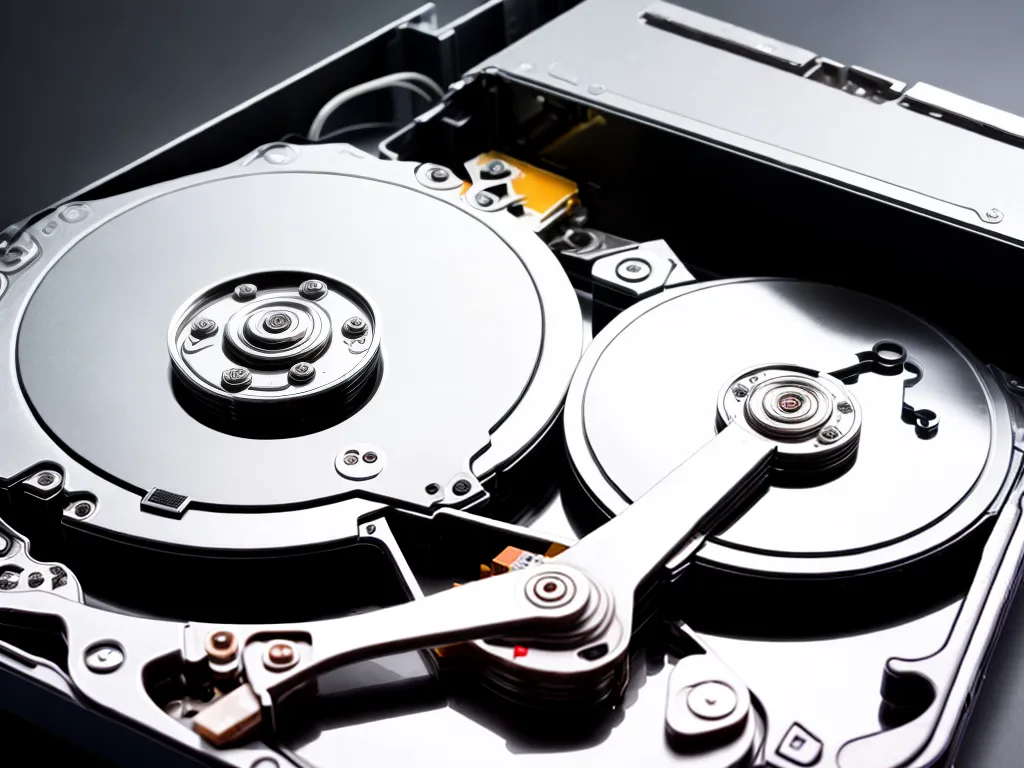
Cloning your hard drive before it fails is an important step to prevent data loss. Here is a step-by-step guide on how to properly clone your hard drive:
Why Clone Your Hard Drive?
Cloning your hard drive creates an exact copy that you can use to restore your computer should the original hard drive fail or become corrupted. Here are some key reasons to clone your drive:
-
Prevent Data Loss – Cloning protects you from hardware failure and lets you easily restore your system from the clone.
-
Upgrade Hardware – Cloning lets you easily upgrade to a new, larger hard drive without having to reinstall everything.
-
System Backup – A clone serves as a full system backup in case of any issues with your original drive.
When to Clone Your Hard Drive
Cloning your drive periodically is a good practice to avoid being caught off guard by a drive failure. Some ideal times to clone your drive include:
-
Before Major OS Upgrades – Create a clone before making major OS changes in case anything goes wrong.
-
On a Regular Schedule – Clone your drive every few months as regular backup protection.
-
When Drive Errors Appear – At the first sign of drive read/write errors, clone your drive.
How to Clone a Hard Drive
Cloning a hard drive is a straightforward process. Here are the major steps involved:
Step 1: Install Cloning Software
Specialized disk cloning software is required to properly duplicate your hard drive. Some top options include:
-
Acronis True Image – Popular paid software with advanced tools.
-
Macrium Reflect – Free disk cloning utility for Windows.
-
Carbon Copy Cloner – Leading cloning app for Mac OS.
Step 2: Connect Destination Drive
Connect the new drive that you want to clone your current drive to. The destination drive should be the same size or larger to hold the full clone.
An external HDD enclosure that connects via USB is a common option for the destination drive.
Step 3: Run the Cloning Process
Launch your cloning software and configure the clone job:
- Select your current boot drive as the source.
- Choose your destination drive.
- Initiate the clone process.
The software will fully copy the source drive contents to the destination drive byte-for-byte. This process can take several hours for large drives.
Step 4: Swap Drives (Optional)
With the clone complete, you can optionally swap your original drive with the clone for enhanced protection. This lets you boot from the clone and keep the original drive safely stored away.
Cloning Tips
Follow these tips for a smooth cloning experience:
-
Delete Irrelevant Data – Prune unnecessary files from your drive before cloning to save time and space.
-
Use a SATA Connection – Connect drives via SATA for much faster transfer speeds than USB.
-
Verify the Clone – Boot from the cloned drive to verify it works properly before discarding the original.
Regularly cloning your drive provides inexpensive insurance against catastrophic data loss. Following these cloning best practices helps ensure you can easily restore your system should your original hard drive fail.


