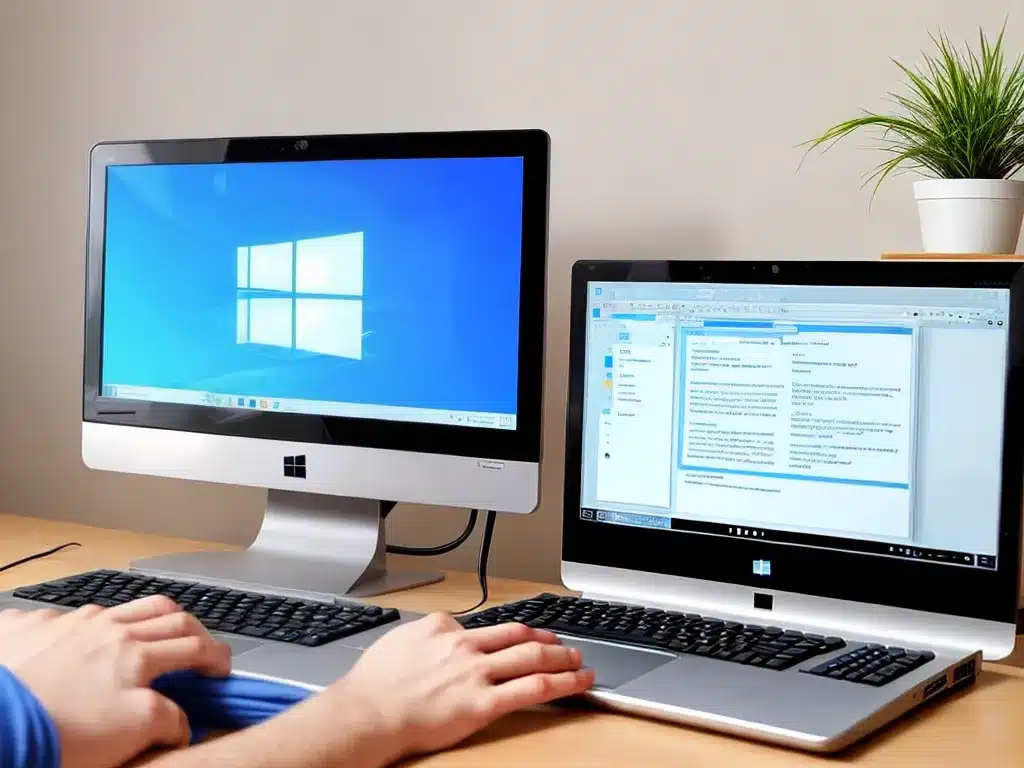
Reinstalling Windows on your computer can seem daunting, but it doesn’t have to be. With some preparation and by following these easy steps, you can get Windows running like new again in no time.
Before You Begin
Before starting the reinstallation process, I recommend:
-
Backing up all your personal files and data. Reinstalling Windows will wipe your hard drive.
-
Making sure you have your Windows installation media. This is usually a disc or USB flash drive.
-
Writing down your Windows product key. You’ll need this later.
-
Checking for Windows updates and installing them if available. This ensures you install the most up-to-date version.
Boot from the Installation Media
-
Insert the Windows installation disc or USB drive and restart your computer.
-
As it boots, press the appropriate key (F2, F12, etc) to access the boot menu.
-
From the boot menu, select the drive containing the installation media to boot from it.
The Windows setup wizard will launch.
Choose Your Installation Type
On the first screen, the setup wizard gives you several installation options to choose from:
-
Upgrade – Installs Windows but keeps personal files and apps.
-
Custom – Advanced install where you can format/delete partitions.
-
Erase everything and do a clean install – Recommended.
Select the clean install option to start fresh.
Accept the License Terms
- Read through the Microsoft Software License Terms and select “I accept” to agree to them and continue.
Select the Installation Drive
-
On the next screen, the wizard shows the disk drives on your system.
-
Select the drive where you want to install Windows. This is usually the main C drive.
-
Click “Delete” to confirm reformatting the drive and erasing all data.
Start the Installation
-
With the drive selected, click “Next” to begin the clean install process.
-
Windows will now copy files and install itself. This may take awhile. Let it run.
Configure Windows Settings
Once the main installation completes, you’ll be prompted to configure some basic settings:
-
Select your region and language preferences.
-
Give the PC a name to identify it on the network.
-
Set the date, time and timezone.
-
Create an offline account to use on the computer.
Install Drivers
With setup complete, Windows will boot up to the desktop for the first time.
Now it’s a good idea to install some crucial drivers:
-
Install the latest GPU/graphics drivers from Nvidia or AMD.
-
Install the latest motherboard/chipset drivers from the OEM.
-
Install any other specialized drivers, like for the wifi card, Bluetooth, etc.
Activate Windows
To activate your Windows installation:
-
Go to Settings > Update & Security > Activation.
-
Click “Change product key” and enter your 25-character product key.
-
Windows will activate automatically over the internet.
You now have a fresh Windows install up and running! From here, you can reinstall programs, restore data backups, and customize the OS to your liking.
Troubleshooting Tips
If you run into issues during the process:
-
Make sure your hardware meets the minimum requirements for the version of Windows.
-
Try booting the installation media on another system to rule out issues with the USB or disc.
-
Disable anti-virus software temporarily. Some security programs block Windows setup.
-
Use bootrec commands at the Recovery Console to repair the bootloader.
-
At the worst case, repeat the steps above to do a clean reinstall again.
Reinstalling an operating system can be intimidating but taking it slow and following these steps will get you through it smoothly. With some patience, you’ll have a fresh Windows install optimized for your computer.


